Carry Awards
 Insights
 Liking
 Projects
 Interviews
Insights
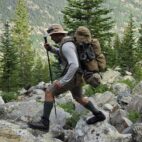
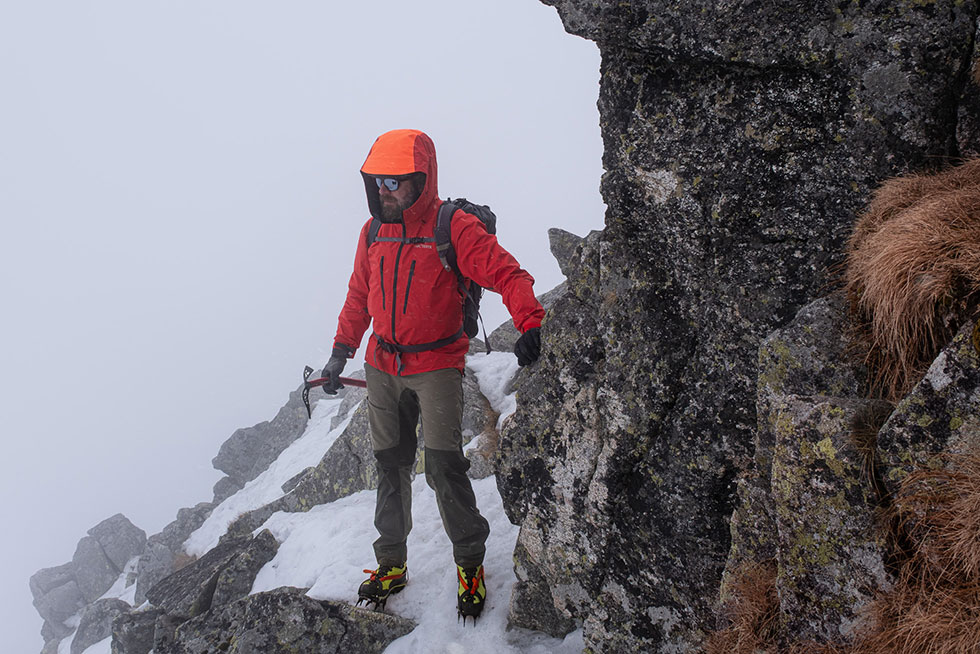
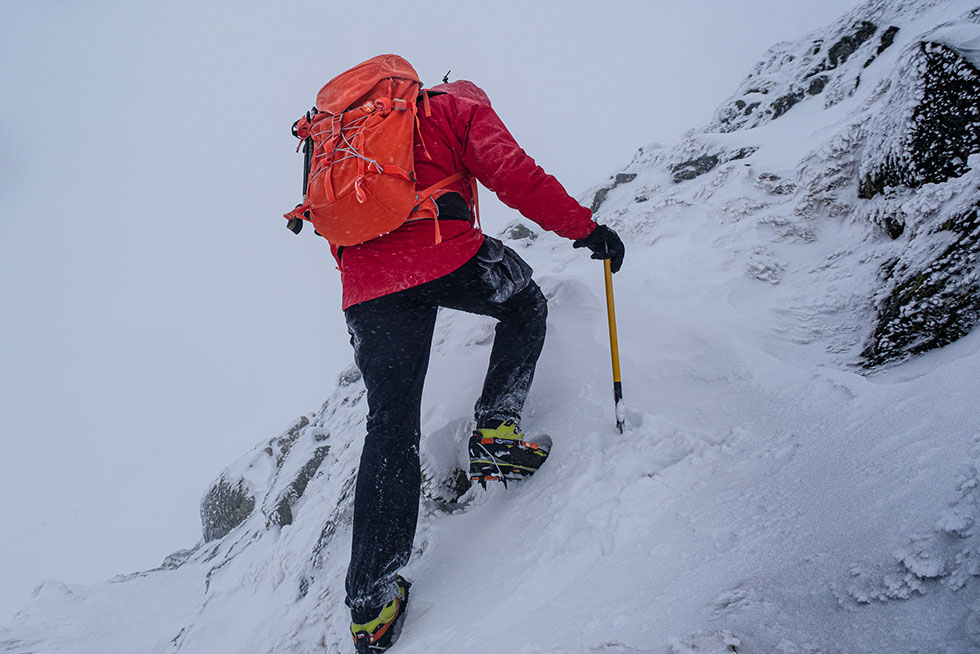
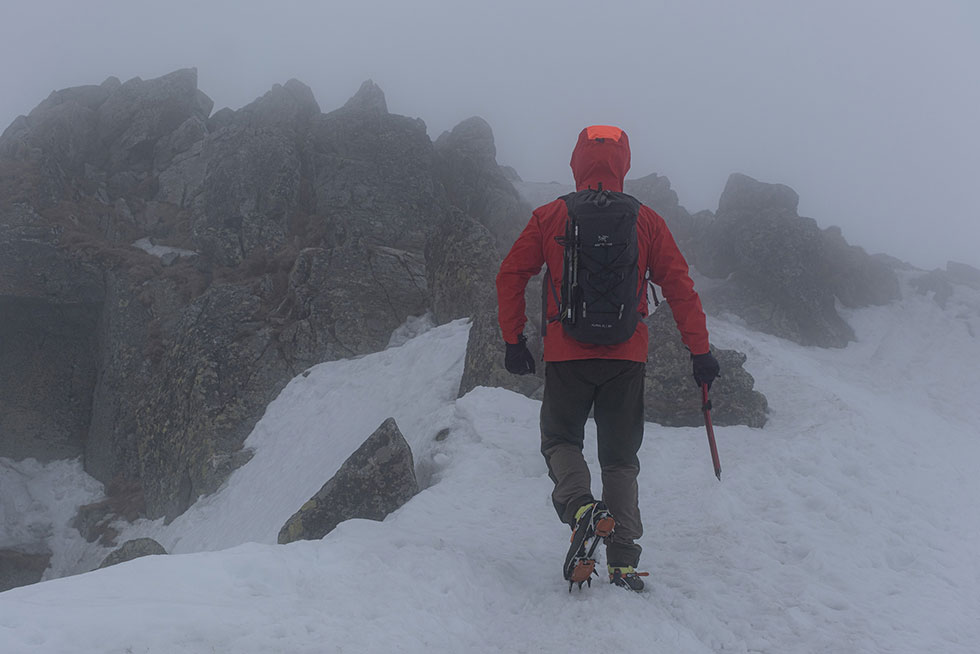
For me, no other winter experience compares to a mountain hike, yet proper equipment, and your knowledge, determine your safety in this beautiful (but potentially also very dangerous) high-altitude winter wonderland.
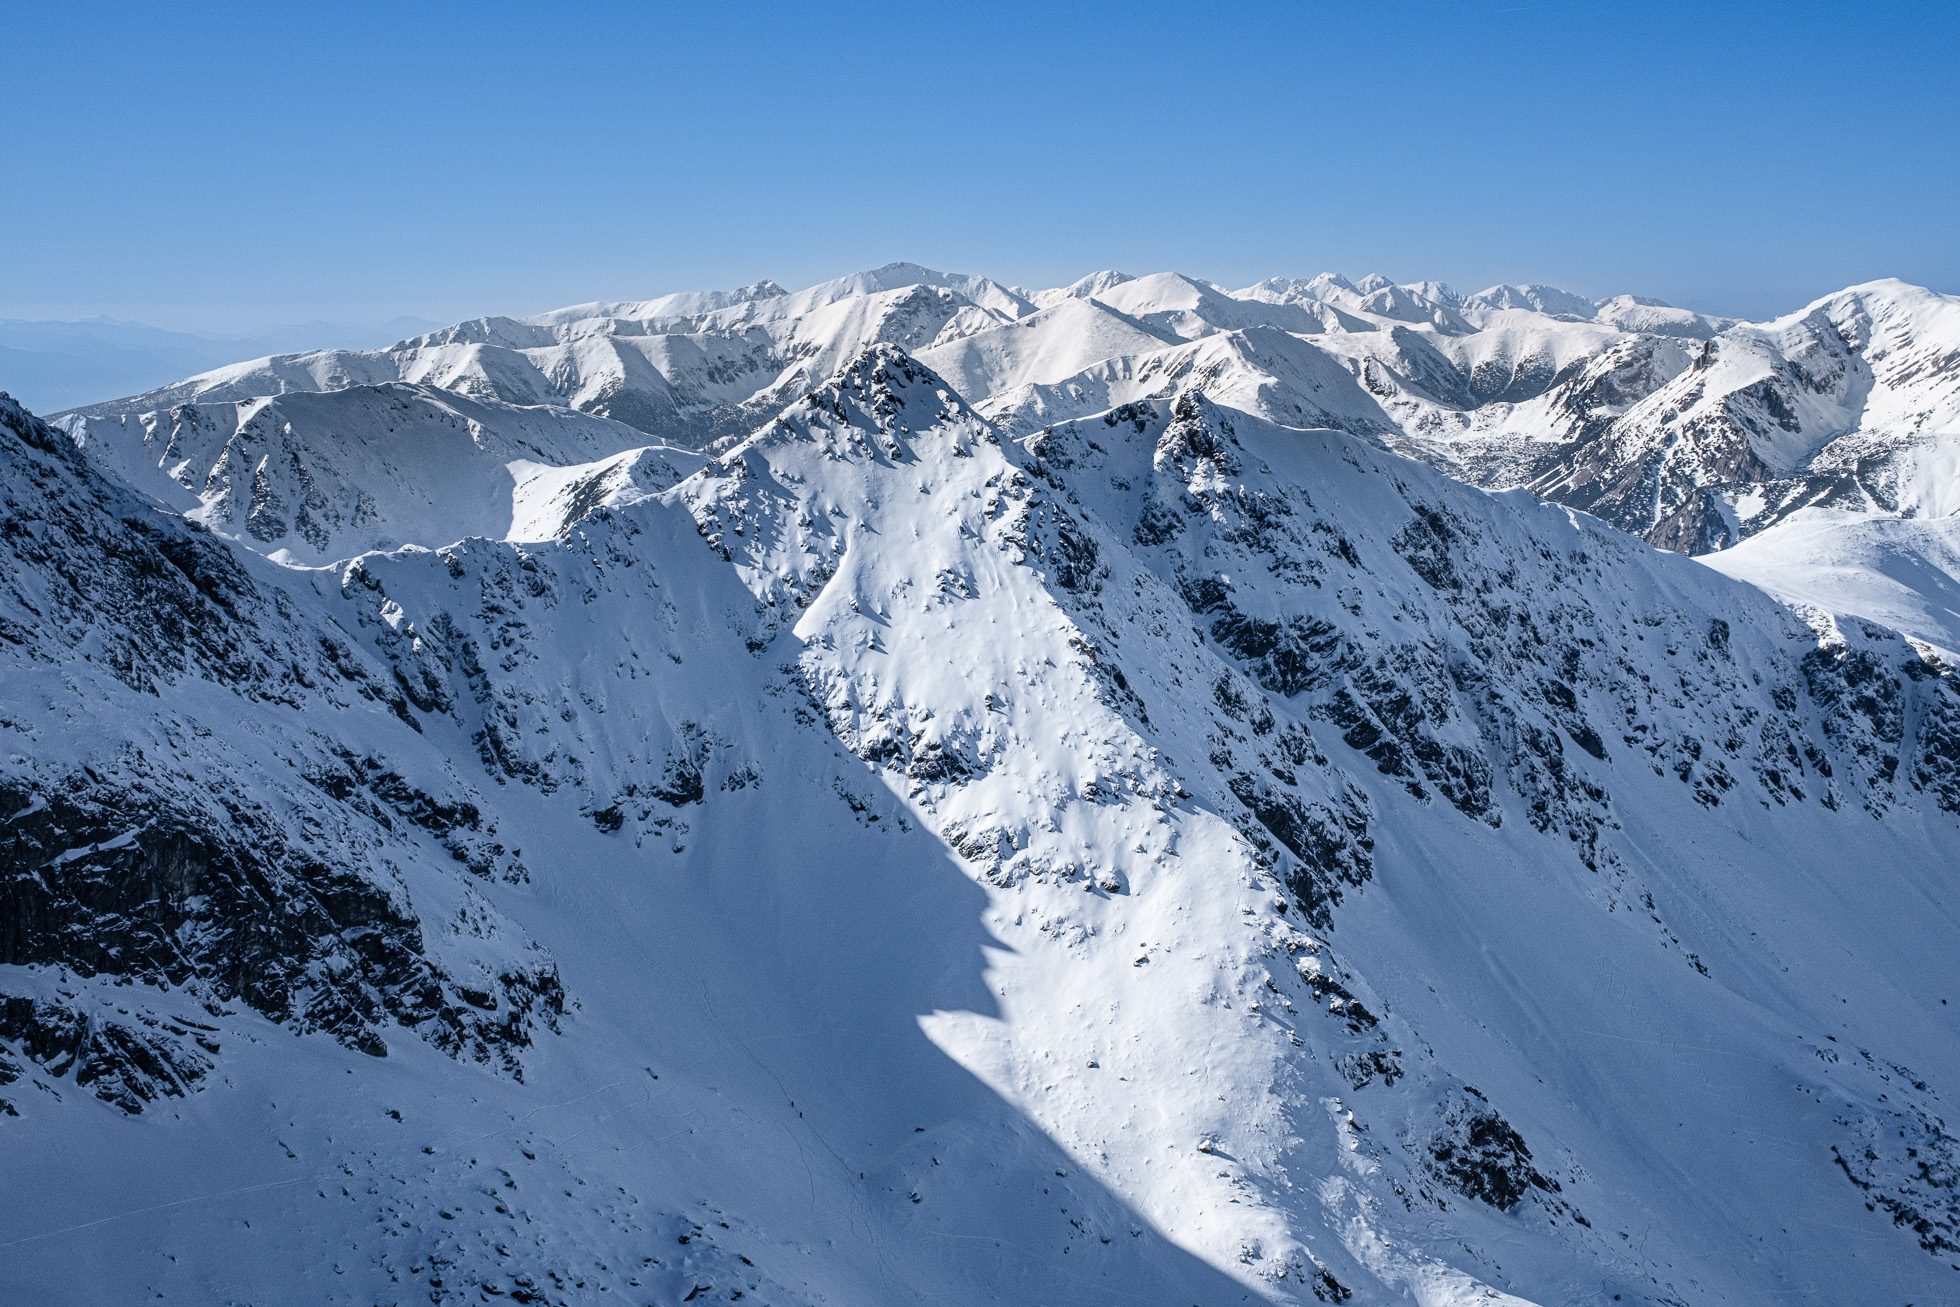
The Tatra Mountains on the border between Poland and Slovakia is my favorite spot for mountaineering. My father, who was a certified alpine climber, introduced me to the beauty of the Tatras when I was a 10-year-old kid, and since then I’ve been hooked! He’s now close to 80, but we still hike together every year in the fall (also with my wife and son) as a family tradition.
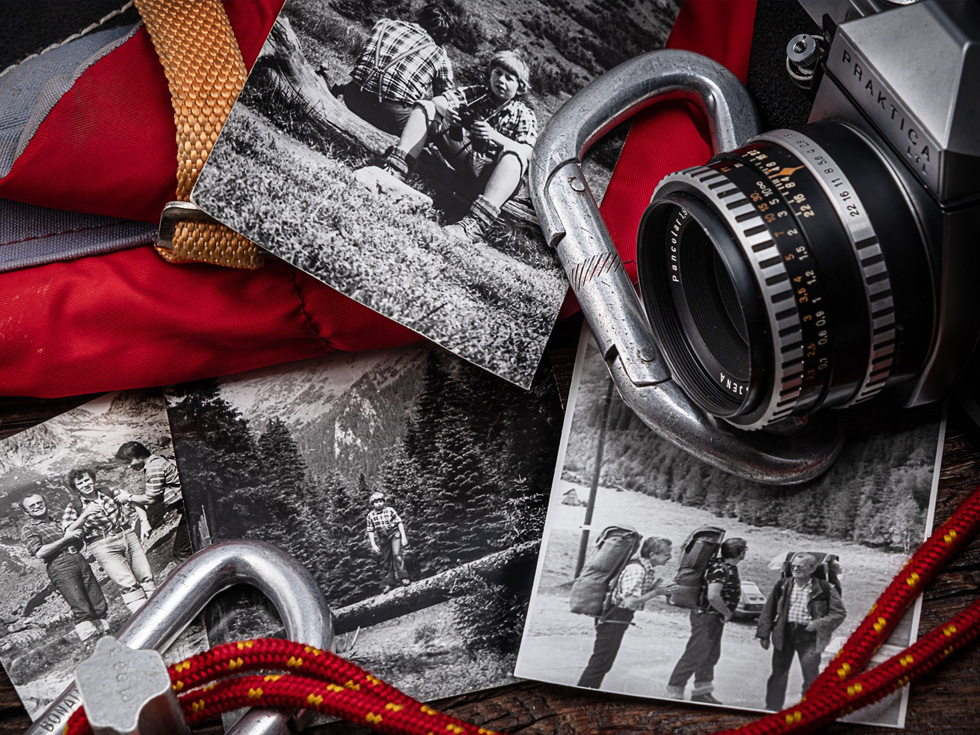
I’ve hiked in lower mountains like Karkonosze and Bieszczady, and experienced the Alps in Italy. But there’s a very special place in my heart for the Tatras.
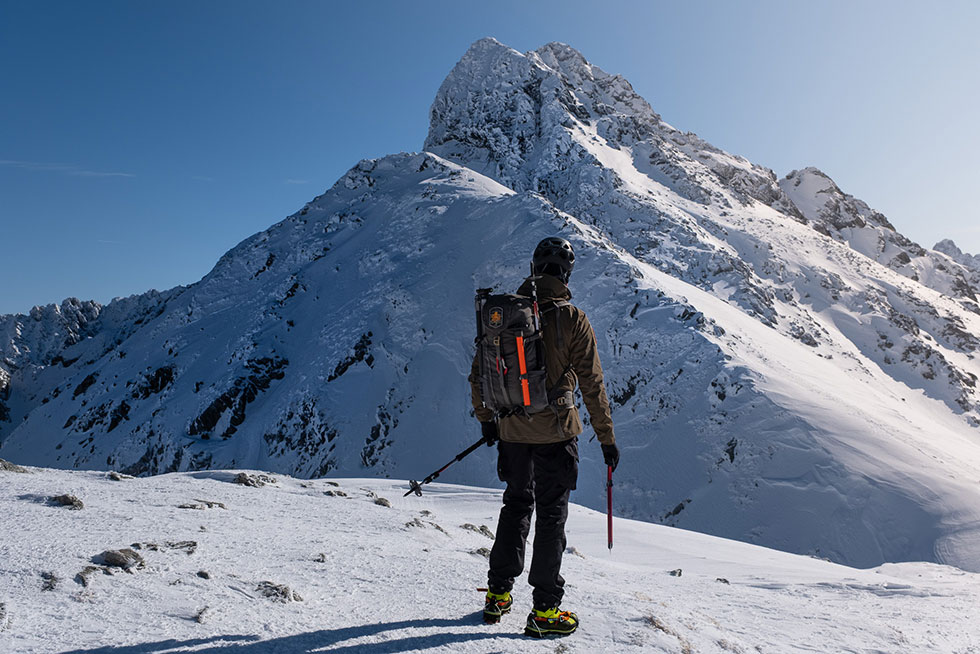
They are very diverse—in the western part you can enjoy moderate ascents, mostly with long and not very steep slopes, with peaks of about 2,000 meters high. However, the eastern High Tatra part is totally different—very rocky, aggressive, alpine in character, and it can be very dangerous, especially in winter. So as a testing ground for gear and mountaineering skills, they’re a perpetual challenge that require the right combination of gear, knowledge and a good dose of grit.
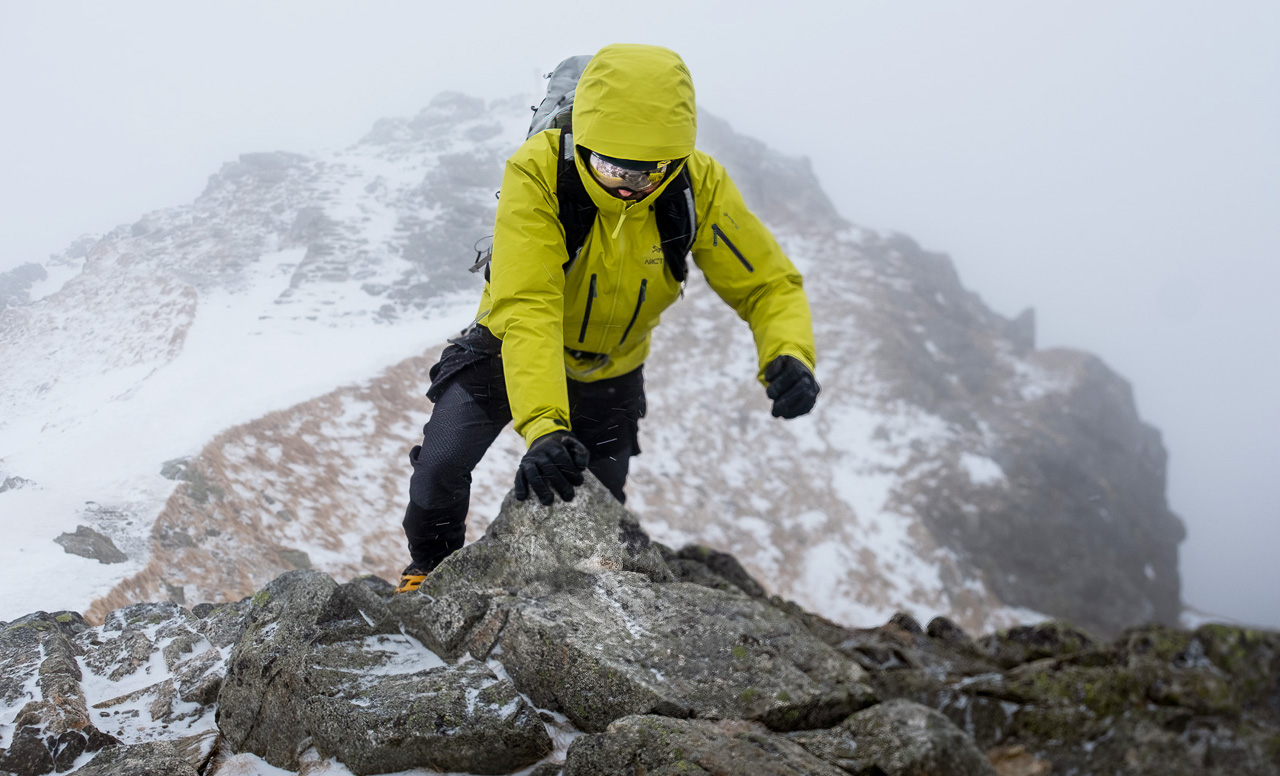
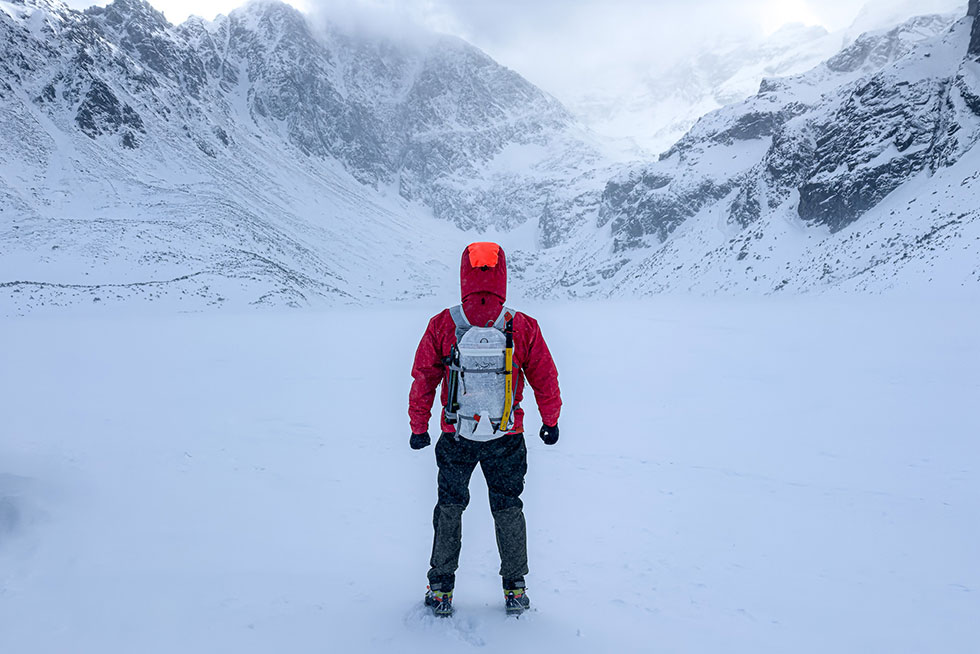
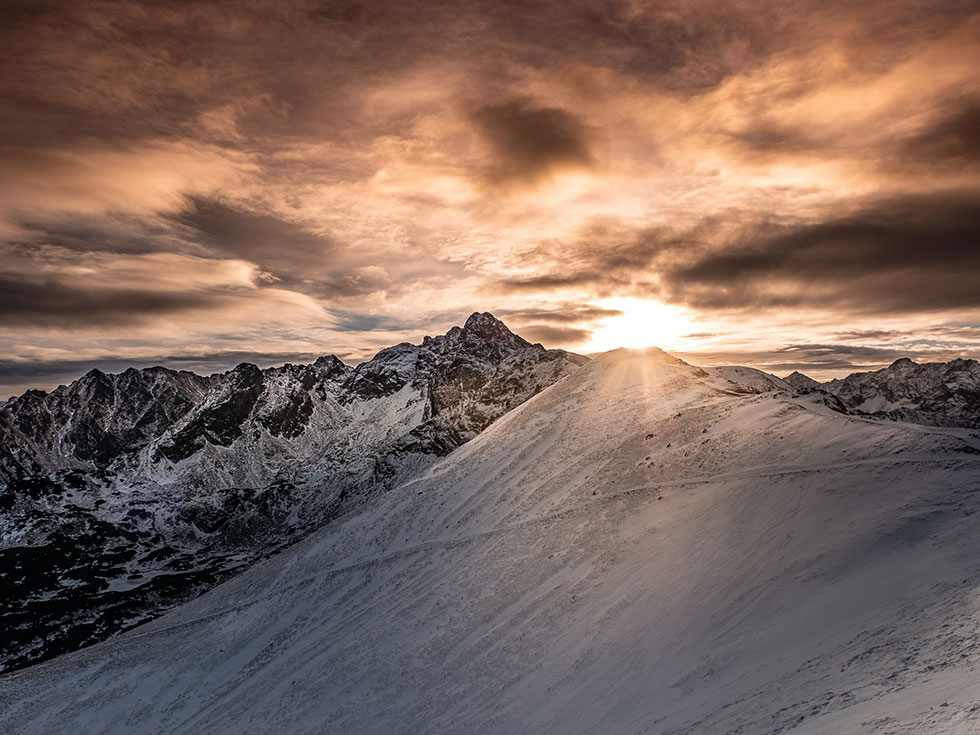
Winter Trails
Winter trails are different from summer trails marked on maps, and require knowledge and experience, because avalanches happen often and there’s hardly any week in the winter without accidents. Extremely steep peaks up to 2,655 meters, often strong wind, blizzards, and freezing temperatures. Last season (2025), they recorded below -41 degrees C there. The weather can be unpredictable and can change rapidly, so you should always carry enough equipment and supplies. In Europe, it’s rare that civilization is far away (distance-wise) but in extreme winter conditions it can easily take 12 or 20 hours or even more before a rescue team can reach you. Also consider that in most areas above valleys, winter hiking without proper equipment is simply impossible, so there are not too many people on trails (especially in severe weather). All that makes winter hiking in the Tatras adventurous and enjoyable, but also thrilling and not without danger. And all about five hours’ drive from my home, so close enough even for weekend three-day outings.
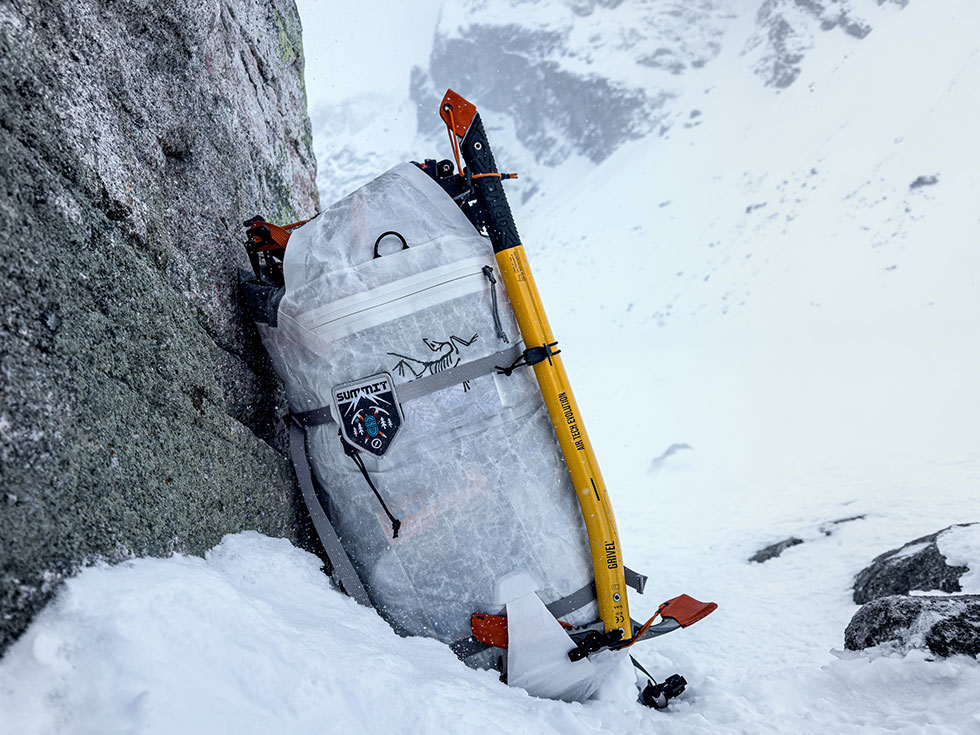
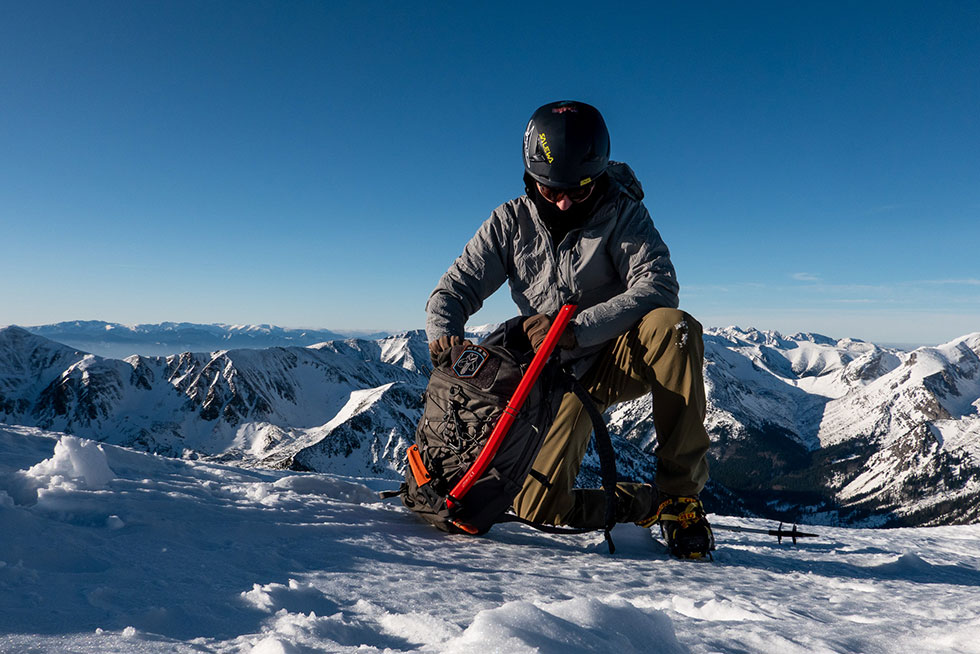
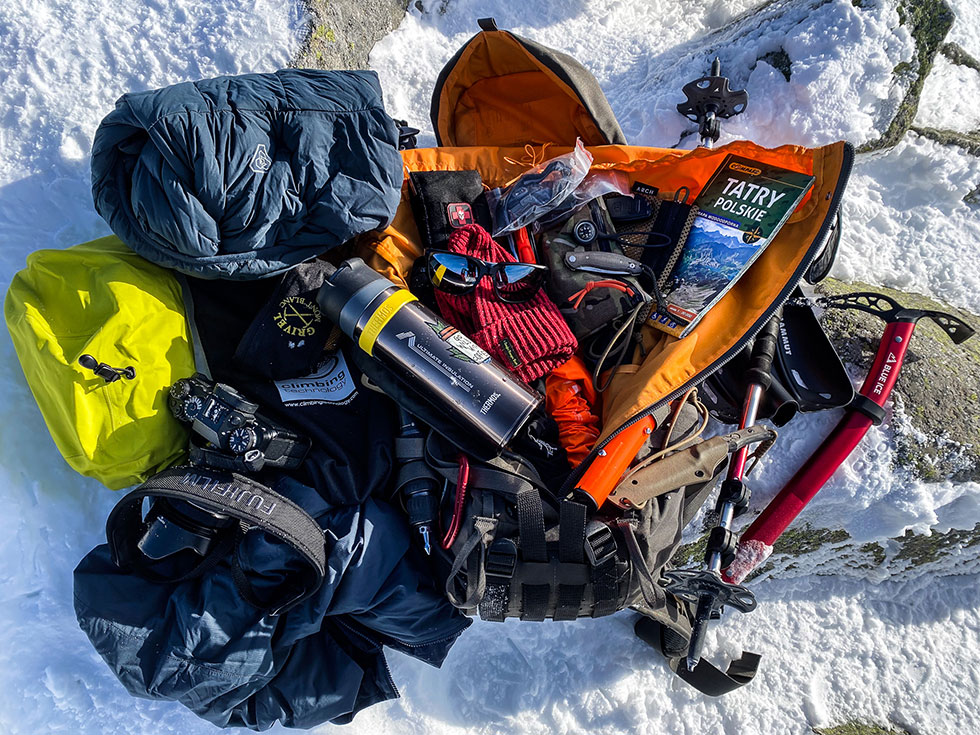
Backpack
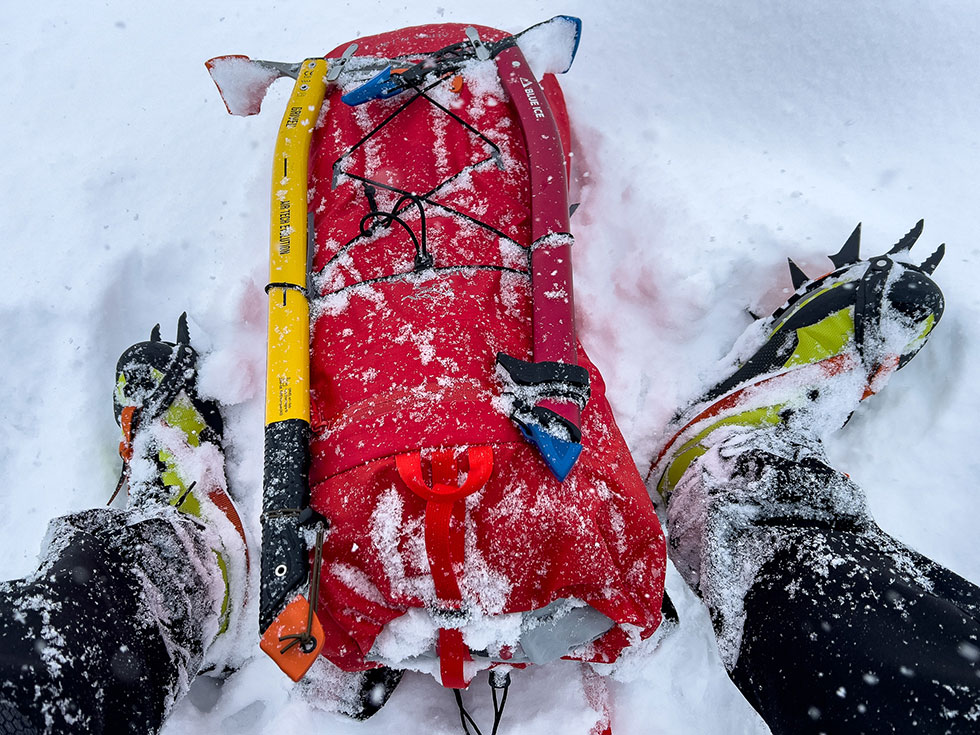
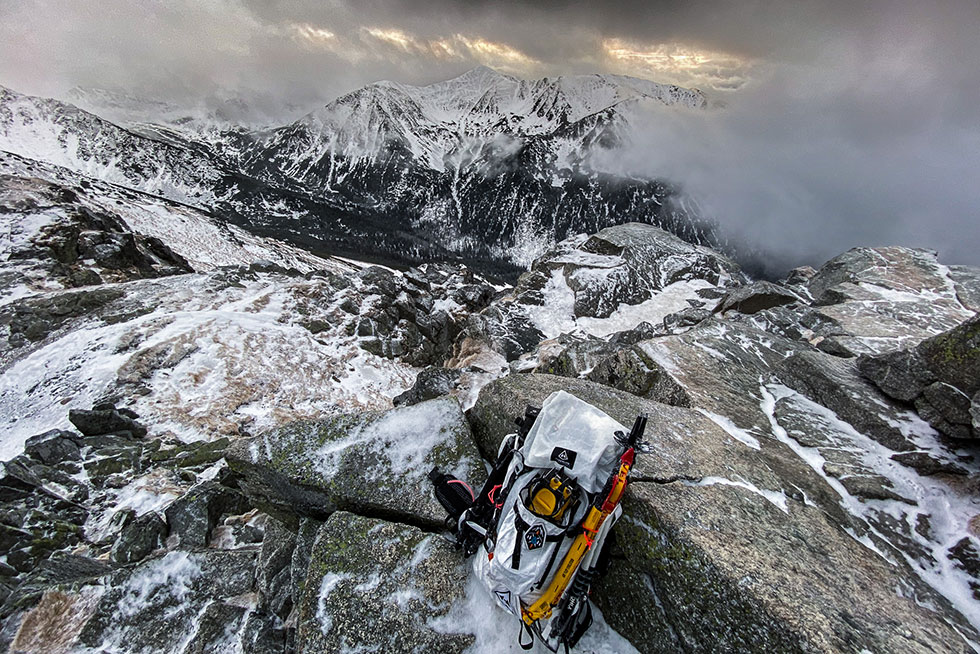
A solid backpack should be the foundation of your mountaineering system. In winter you carry significantly more gear than in warmer months, so hip packs or small slings are absolutely insufficient. For most hikers, a 25–35 liter pack works best, because it offers enough space for extra layers, rescue gear, climbing tools and food. More experienced hikers could manage with a 20-liter pack in very stable weather, but that size is barely enough to stow everything necessary for your safety, so I’d recommend sizing up. When searching for the right backpack, look for a streamlined profile without exposed pockets (these can snag on things), weather-resistant fabrics, and attachments for ice tools (at least one ice axe but preferably two) and trekking poles.
We’re living in a golden era of backpacking now, so there are a lot of awesome dedicated winter hiking packs out there. Some good examples could be the Arc’teryx Alpha FL 30 and even lighter SL 30, or the Fjällräven Bergtagen 38 if you need more space. Some ski-touring packs are also fine for a day in the mountains, like the Black Diamond Cirque 35, Arc’teryx Micon 37, or mid-sized winter mountaineering models by Ortovox, Mystery Ranch or Mammut. Construction is a personal preference, but I tend to favour a simple, durable top‑loader construction because fewer zippers means fewer potential failure points, and zippers are often awkward to operate with gloves on.
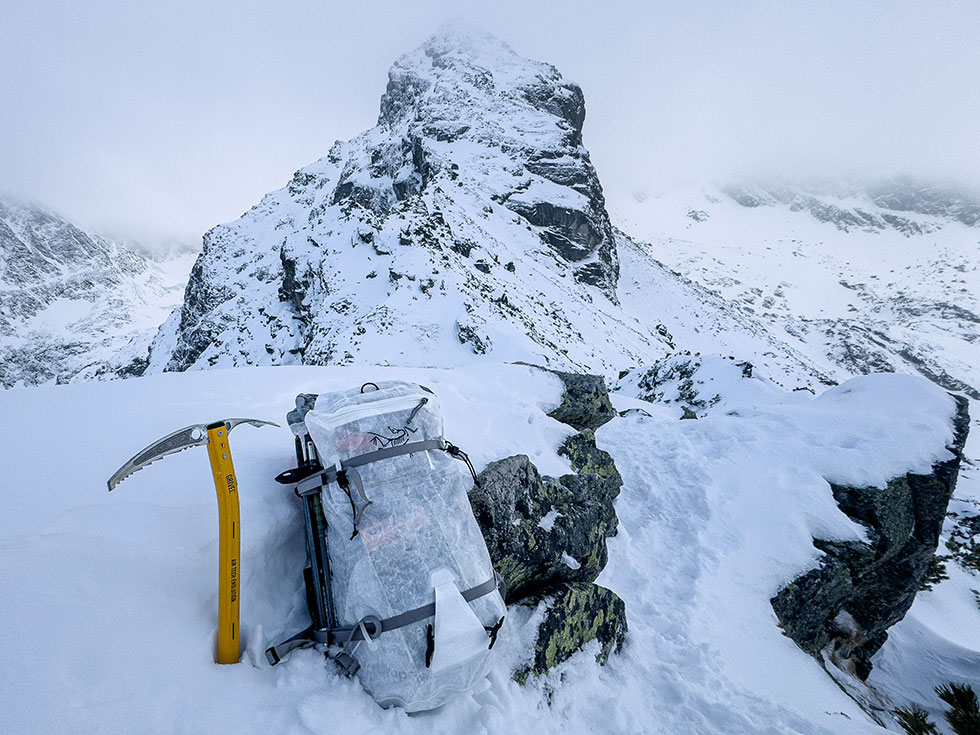
A waist belt is useful more to stabilize the load rather than to carry weight. A stable load is crucial for lateral movement and in windy conditions on the ridge. During winter a ventilated or heavily padded back panel is unnecessary because your clothing (especially the active insulating layer) already provides enough cushioning.
The fabric is also something to consider—it should be abrasion-resistant, waterproof and smooth, so that snow won’t stick to it (to prevent snow buildup). You don’t want to carry a pound of snow stuck to your pack after a one-hour walk even in a moderate snowfall.
So-called “avalanche backpacks” are mostly used by off-piste skiers and ski-alpinists, who operate directly in the avalanche danger zones. But these packs are not really designed for mountain walking and climbing. Mountaineers should be able to “read the snow” and avoid avalanche spots. Avalanche packs are considerably bigger and heavier than mountaineering packs of the same volume, which is not a big issue when you ski down, but becomes unnecessary weight when walking up and down for a whole day. I’m not saying you could not use an avalanche pack, but it’s not something I’d recommend for general mountaineering. If the conditions are so risky that you feel you need such a pack, just stay in the mountain chalet and enjoy the friendly atmosphere of being among other mountaineers. The mountains will be there the next day and next season.
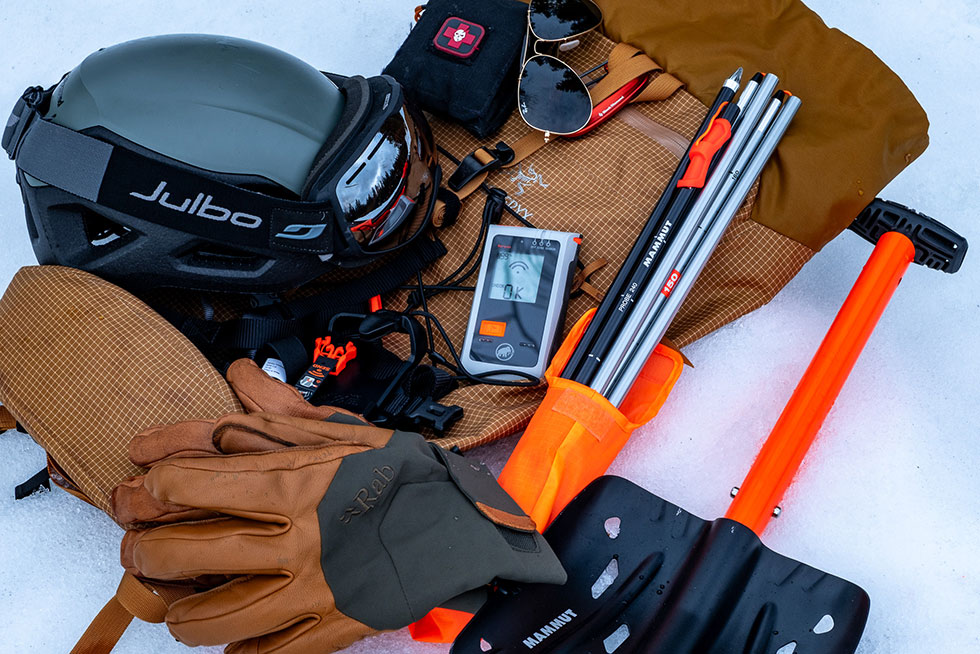
Rescue Gear
The RECCO® system in a pack is controversial in my view. For context, the RECCO® system is a two-part, radar-based technology designed for professional rescue teams to locate people buried in avalanches (or lost in the outdoors). It consists of passive reflectors integrated into clothing or gear, and active detectors used by rescuers. Rescuers use a handheld detector to send out a directional radar signal. When the signal hits the passive RECCO reflector, it echoes back, allowing rescuers to pinpoint the location of the buried person. But here’s the issue: a backpack in an avalanche area should be carried with the waist and chest strap open for easy separation from a person in an avalanche, otherwise it’d act like an anchor on your back. So, the rescue team could focus on the RECCO in your pack, instead of… you. RECCO integrated in a jacket is a better idea, but should never be considered a substitute for a proper active avalanche transceiver.
In avalanche‑prone terrain, I always carry a complete set of real avalanche gear: an active transceiver, folding avalanche probe, and sturdy metal snow shovel. It is the most essential rescue equipment and must be treated as lifesaving gear.
Personally, I use a Mammut Barryvox transceiver, but there are other reputable brands on the market, like Ortovox or Pieps. It should be placed on top of your base layer, always under all jackets. Be sure to check your batteries before heading out and use fresh alkaline cells rather than some lithium types that can behave unpredictably. Avoid rechargeable batteries that often contain electronics inside, and can even jam your rescue signal.
Practice using your avalanche kit regularly so that in the event of a burial, you and your partners can execute an efficient rescue immediately. The first 15 minutes are the most important as they ensure 90% survival rate, and this drops to just 30% after another 15 minutes. This is also why exploring the mountains in a group is so important: immediate rescue is only possible when teammates are close by, and everyone carries the necessary avalanche tools. Quick access to avalanche rescue gear is crucial, either through a dedicated pocket or by thoughtful packing so you can reach your probe and shovel quickly.
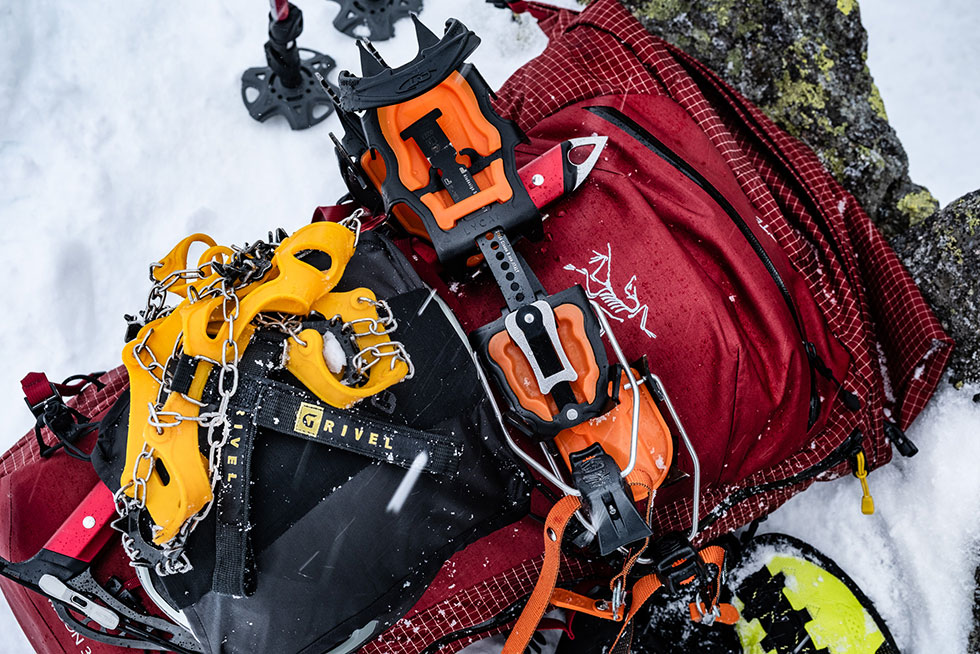
Spikes and Crampons
Spikes and crampons both have their place in mountaineering, and they are complementary rather than interchangeable tools. Micro‑spikes are ideal for approaches and low‑angle terrain in the valleys because they are lightweight and make it easier to walk over hard-packed snow and ice without the bulk of full crampons. Crampons are mandatory for steeper, more technical sections where you need rigid traction and the ability to kick steps or secure your stance on ice. I’ve been using Grivel crampons for a long time, but recently switched to a more technical model by Climbing Technology. There are many established producers out there.
Hiking Poles
Hiking poles are a major help in winter conditions by improving balance, reducing fatigue, and supporting movement on steep or unstable snowy slopes and in strong wind. Poles are also useful when combined with an ice axe, allowing you to use one hand with a folded pole and the other with an axe in situations such as climbing a cirque or moving over loose scree. Invest in a sturdy pair with external locks (not twist-locks) that can withstand some abuse and freezing conditions—so they remain reliable when you need them most. You need to be able to adjust the pole’s length for ascent/descent.
Helmet
A helmet is non‑negotiable in winter mountain terrain because it protects your brain from falling rock and ice. Always wear one and never leave it behind. In difficult conditions a helmet can quite literally save your life, so make it your standard kit whenever you expect to be hiking in steep terrain.
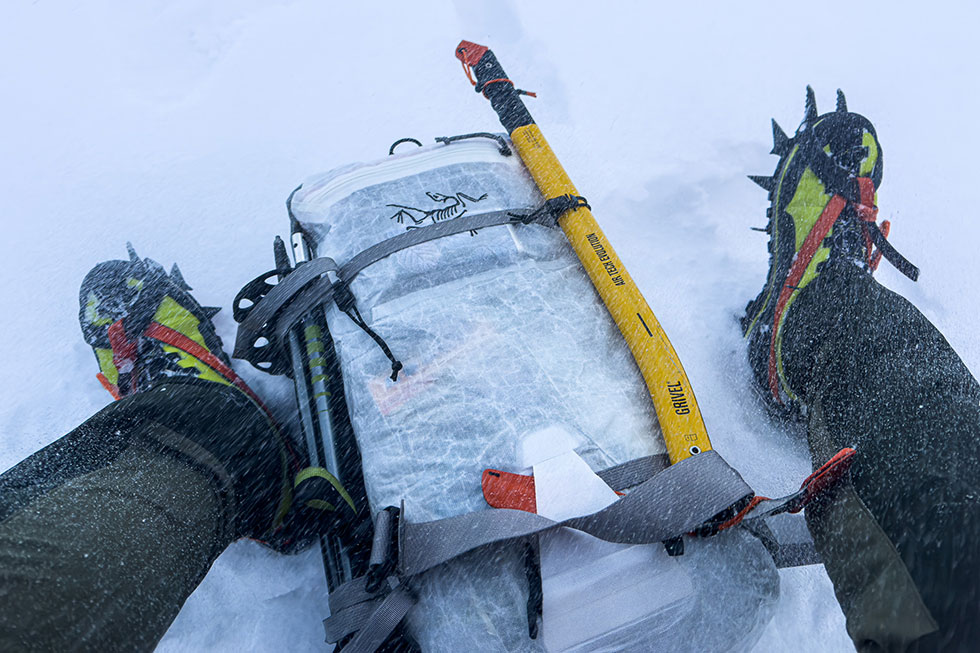
Ice Axe
An ice axe is primarily your emergency brake during a slip, and you must learn self‑arresting techniques before heading into snow-covered mountains. If you slip and begin to slide down in steep terrain, the ice axe is your last and only chance to stop and live another day. Never go into winter mountains without one and without training how to use it—take a weekend winter mountaineering course or practice with a more experienced buddy on a safe slope until you feel confident. I often carry two axes, one longer and heavier model such as the Grivel Air Tech Evo for general security and one lighter, more technical tool like the Blue Ice Akila Adze for backup and technical moves. Avoid heavily angled specialized ice-climbing picks; they are not designed for typical winter mountaineering and self-arresting.
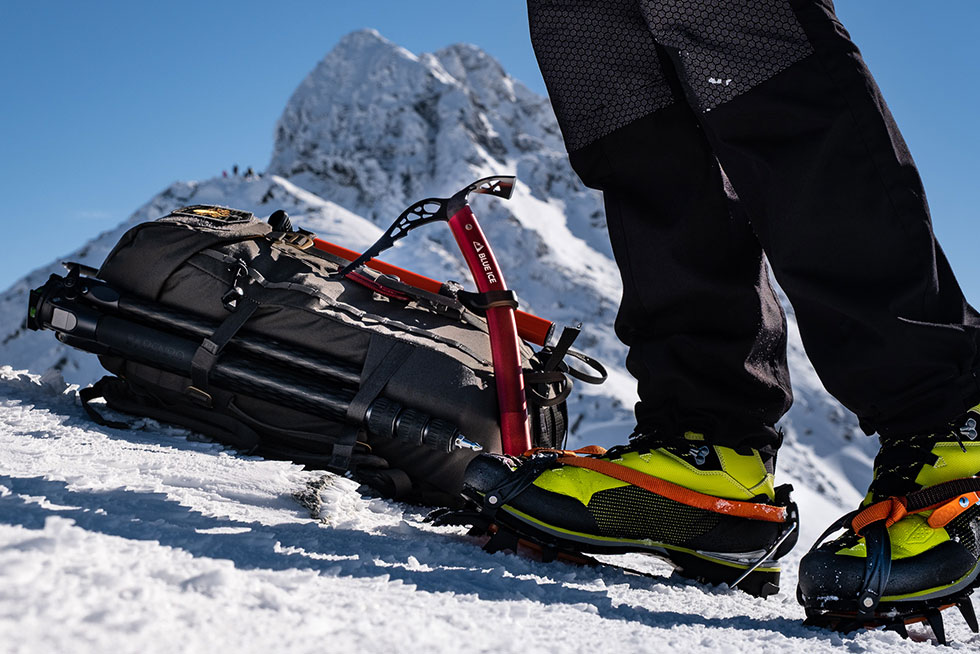
Boots
Choosing the right boots and socks requires attention to stiffness, crampon compatibility, and weight. Lightweight winter mountaineering boots paired with high‑quality socks often provide better comfort and efficiency than unnecessarily heavy boots, especially if you stay below 4,000 meters. Remember, even a small increase in a boot’s weight multiplies over the thousands of steps you take in a day. To put it in perspective, an extra 50 grams per step times 20,000 steps equals a full ton of extra weight your legs have lifted over the course of the day. Select boots that are dedicated to winter mountaineering, and if possible, look for a bit more expensive models with a rear welt for semi‑automatic crampon compatibility—for most sub‑4000-meter winter hikes, these will be ideal. Higher altitudes demand more experience and specific boot choices, so start at lower elevations before stepping up. LaSportiva, Scarpa, Zamberlan, Dachstein, HanWag… the possibilities are almost endless today.

Base Layer
Both merino wool and modern synthetic fabrics perform very well, and their blends can offer the best of both worlds. The cardinal rule is to avoid cotton entirely because cotton retains moisture and significantly increases the risk of hypothermia—an axiom commonly summarized as “cotton kills.” Choose fabrics that wick moisture away from your skin and dry quickly, so you stay warm and dry when active. Long sleeves, long bottoms. Weight and thickness is an individual thing, but I prefer a lightweight base layer—it’s easier to add one more layer on top if conditions go south, than change your long johns for lighter when you feel it’s becoming too hot.
Insulation
Insulation should be organized into two types. Active insulation, such as a light fleece or a synthetic hybrid puffy, is worn while you are moving uphill. It should be light and efficient at moisture transport. Static insulation, typically a lofty down or synthetic puffy jacket, is reserved for breaks and for emergency situations when you are stopped to belay your partner or when sheltering. Down provides excellent warmth when used as an add‑on during breaks or in a short bivy because it traps air efficiently. However, its insulating ability is reduced when wet, so avoid wearing it during high‑output activities, when you can wet it out with sweat and vapour. I’ve used insulating jackets by Rab, Mammut, Arc’teryx, Dynafit, Patagonia, and Prometheus Design Werx, but there are a dozen or two more—each reputable mountain equipment brand has them in the product range.
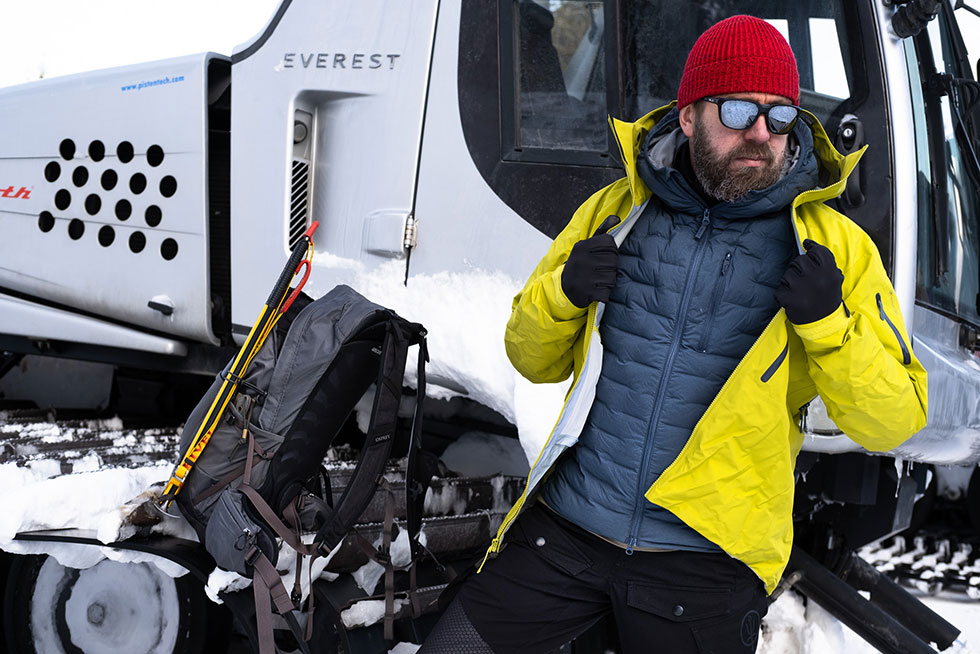
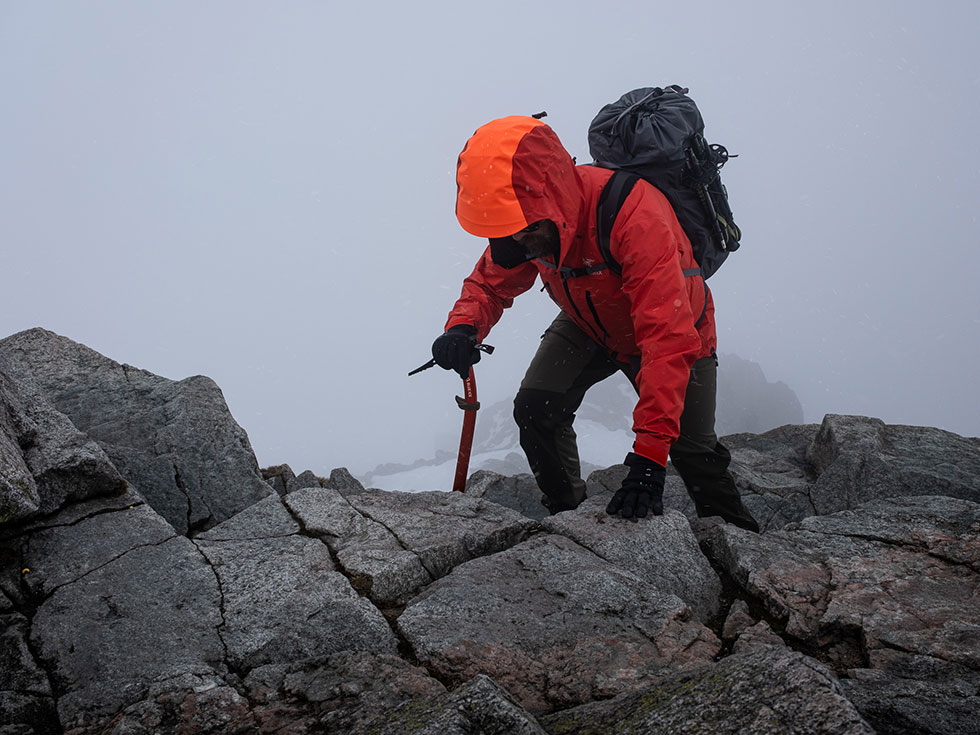
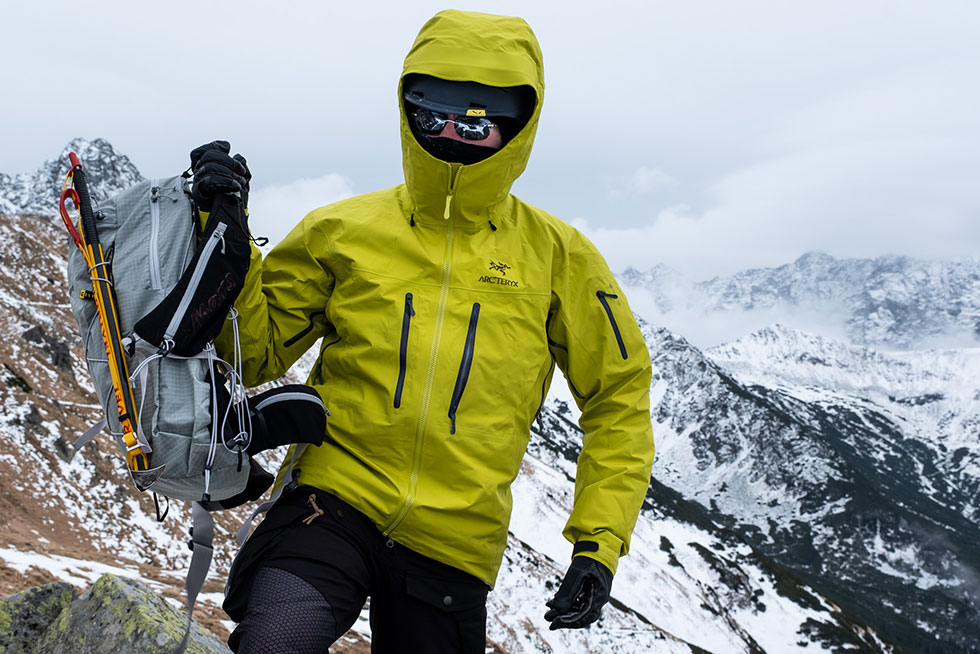
Outer Shell
Your outer layers should include both a hardshell and a softshell so you can match protection to conditions. A softshell jacket should be lightweight, wind‑resistant, and breathable—and should be worn for most of the ascent because it transports moisture while providing enough protection from the elements. My favourites are the Arc’teryx Gamma series (especially the SL Anorak), but I can recommend jackets by Patagonia, Dynafit, Mammut, and more. A hardshell jacket is your essential winter armour against wind, snow, and sudden weather changes; I never go mountaineering without one in my pack. Invest in a reputable membrane such as Gore‑Tex or eVent and buy quality—spend more and cry once rather than buy substandard protection that might fail. A winter‑specific, tear‑resistant hardshell is ideal if you can afford it, though you may prefer a lighter hardshell for summer use. The Arc’teryx Alpha or Alpha SV are great, but also the Mammut Eiger series, Patagonia Triolet, Fjällräven Bergtagen, or ThruDark Aigis. The same logic applies to your mountaineering pants—use softshell models for most of the activity but carry lightweight Gore-Tex overpants for emergency use in stormy conditions. Or even additional insulation in extreme cold.
Accessories
For neck and head protection, I recommend a merino cap and a neck gaiter, because merino wool keeps you warm even when damp. I typically carry a secondary heavier wool cap in my pack in case weather conditions get worse.
Gloves are critical—you should carry at least two pairs, one thin and dexterous for handling equipment like an ice axe (my personal preference is Arc’teryx Alpha SL gloves) and one warmer backup for cold and windy conditions (Hestra, Rab, Black Diamond). Never hike during winter with only one pair of gloves, because frost‑bitten fingers are a serious risk. Additionally, consider lightweight hardshell over‑mitts that weigh next to nothing but add significant wind and water protection to your glove system—Black Diamond makes fantastic (and affordable) waterproof membrane over-mitts.
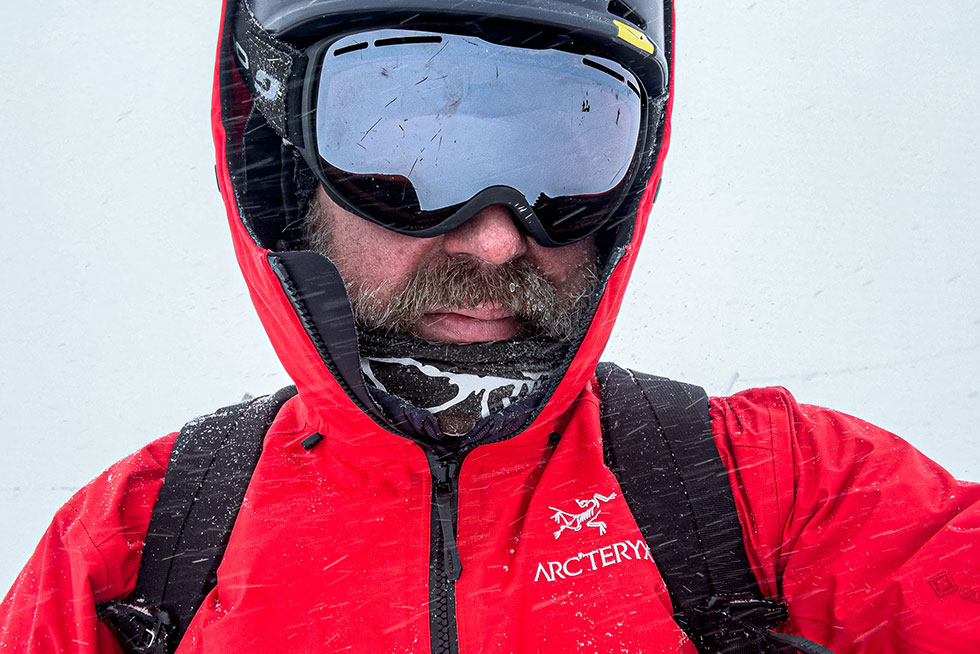
Eye protection: polarized sunglasses are great (I usually use Oakley Anorak, sometimes Ray-Ban Outdoorsman), but goggles are also very important because they preserve visibility and protect your eyes in blizzards and heavy snow, which can otherwise make navigation impossible. I carry both, always.
A few tools and other essentials are worth carrying to cover common problems: a pocket knife can sound a bit “over the top” but that’s only until you need one. The Victorinox Mountaineer is perfect for winter hiking; it’s equipped with a metal file, which you can use to sharpen spikes on your crampons and ice axe. A small repair kit with 3 feet of duct tape, 6 feet of Type-1 paracord, 2-3 medium zip-ties, and a BIC lighter will handle most equipment failures on trail.
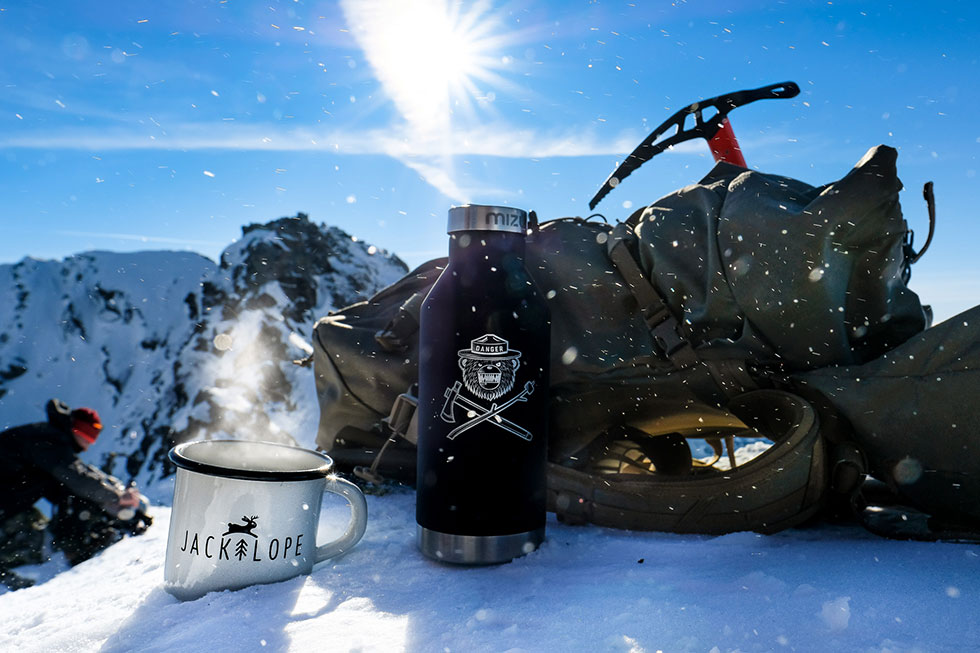
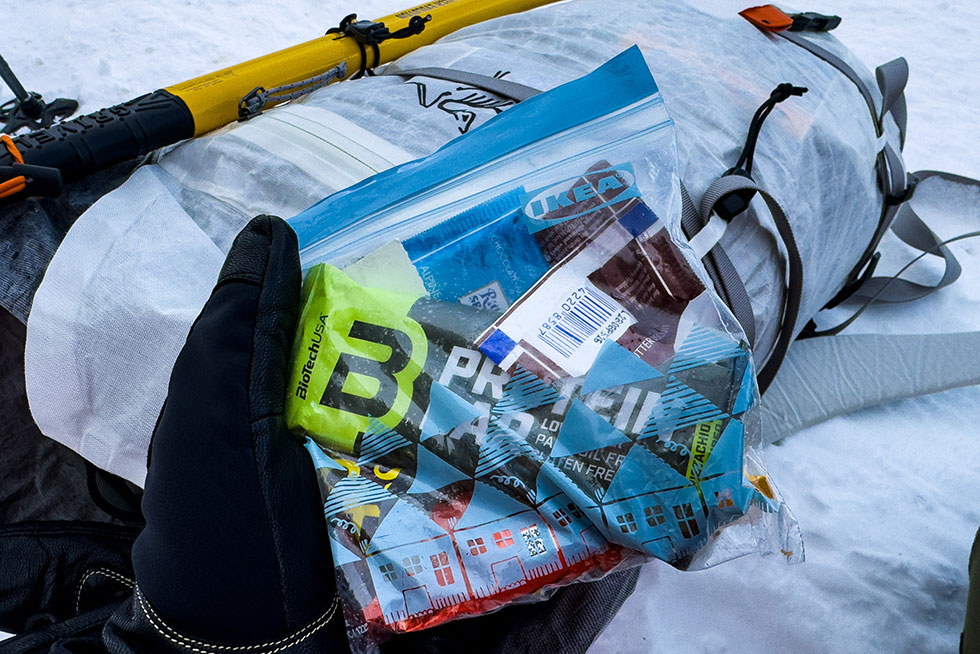
An insulated bottle with hot tea (add some sugar for an energy boost) and some food/snacks—that’s quite self-explanatory. You need energy, so make sure your food can deliver some. Modern energy bars are good, but I prefer a sandwich made of whole food—it’s easy to digest and gives you real raw energy for a longer time. And don’t forget about fat content, just sugar is not enough for a long day in the mountains in heavy winter weather. Chocolate with raisins and nuts is a good thing, too.
A radio transmitter, or a charged phone, is a key security item. Gear like the Garmin inReach Mini has saved a lot of lives in the wild. But if you’re in a less remote area with adequate GSM coverage (like in the Alps, near resorts, or in the Tatras), then a phone with even a small power bank (stored in your inner pocket, not in a cold backpack) should be enough. Just install some sort of rescue app, which can act as an active beacon for the rescue team when activated.
A map, navigation tools—call me old-fashioned, but a simple map and compass are always with me. You don’t need a very precise one to get you out of trouble. In a heavy fog sometimes all you need is a rough direction like North or North-East on a wrist-band compass to get you back on the trail. Believe me, in a heavy fog you can totally mess your direction within less than 100 paces and go almost backwards to where you started. A standard magnetic compass is cheap, ultralight, and easy to buy. Brunton, Silva and Suunto are top brands to consider.
A headlamp—always carry one, ALWAYS. Days are shorter in winter, and a quality headlamp is your best guide after sunset. I’ve been using both Petzl and Black Diamond, two big names in headlamps. There are others, too, but you can’t go wrong with the two I mentioned.
A First Aid Kit—again, never go hiking without one. Make sure you have some bleeding control stuff in there, and a thermal blanket. And learn how to use it.
Most importantly, the single best safety measure is to hike with a trusted buddy. Avoid winter mountaineering alone whenever possible, and if you cannot find a regular partner, try to join another group. In avalanche situations, the first 15 minutes are critical and rescue within that window is generally only possible by teammates who are on scene and equipped to act. Hope for the best but prepare for the worst, carry backups of critical items, practice using your gear, learn new things, and respect the mountain environment. As they say: “you can’t cheat the mountain.”
See you (safely) on the trail!