Carry Awards
 Insights
 Liking
 Projects
 Interviews
Making Custom Packs with Rucksack Village
Custom carry. It’s a phrase that sends a tingle of anticipation down a Carryologist’s spine. This isn’t just a piece that speaks to you. It’s made for you. Specifically according to your tastes and needs – and in the case of James Kamo, your spirit animal too. James is the founder and maker behind custom bag brand Rucksack Village, and we roped him in for an epic project. Design and build three custom one-off packs for our Carryology store, each pack an ode to one of our carry worlds: Everyday, Outdoor and Travel.
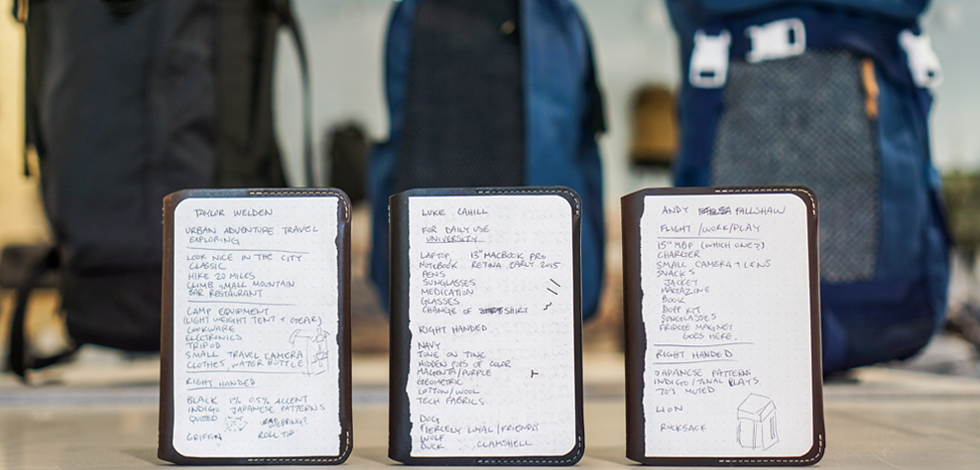
Each pack was designed in tandem with some awesome Carryology folks, based on a series of Q&As to determine their interests and preferences. The result? The creation of The Luke (Everyday), The Taylor (Outdoor), and The Andy (Travel). Enjoy a behind-the-scenes look at James’s creative process…
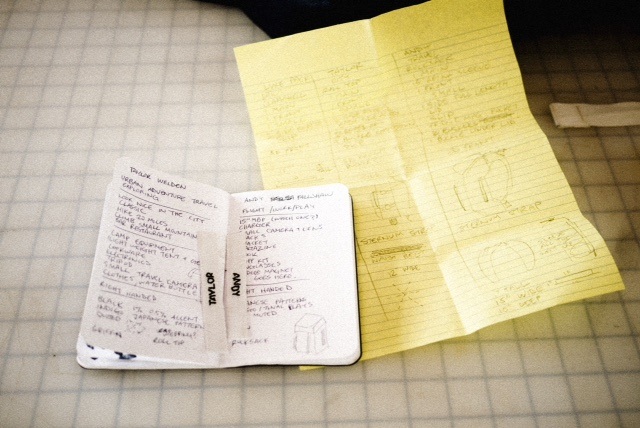
Planning out Andy, Luke and Taylor’s packs via the answers to questions I sent via email to get a sense of how their pack will be designed.
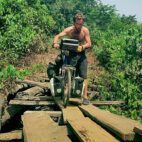
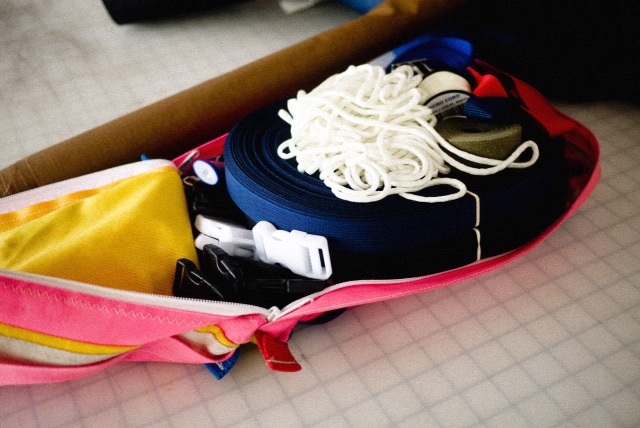
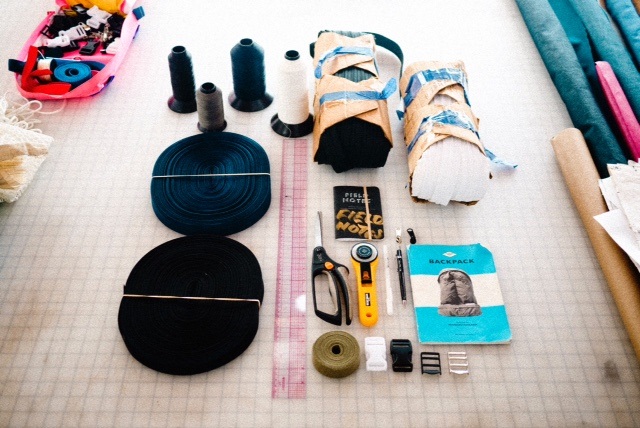
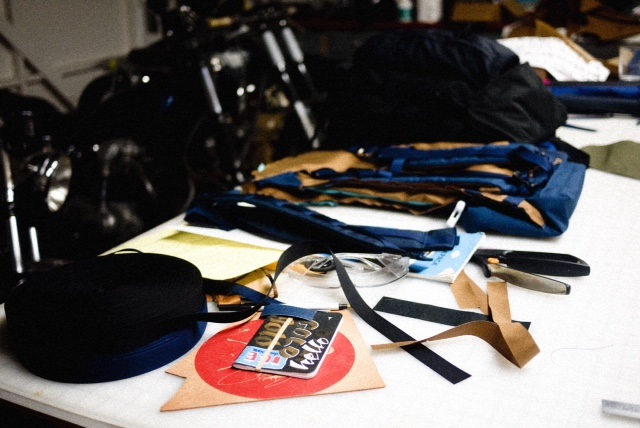
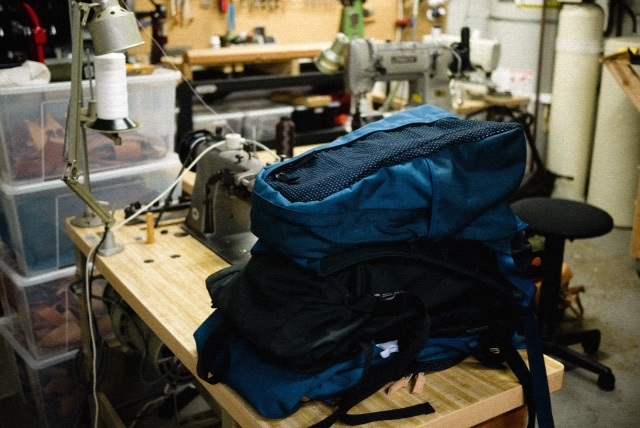
I actually made the packs at my buddy Teppei’s studio. He runs a rad brand named Teranishi. I had to haul all my materials over so here are some trims.
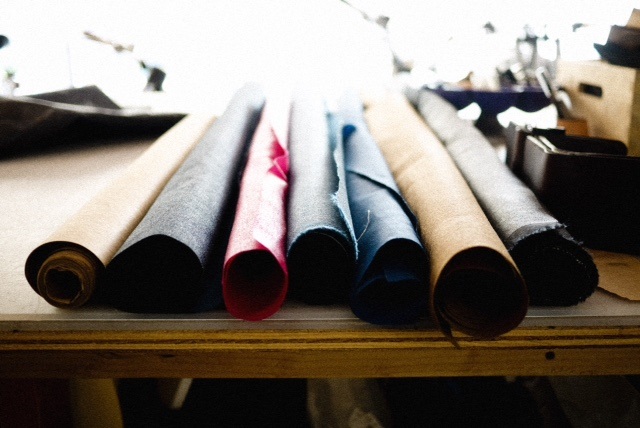
Cordura is the main player in all the packs I make.
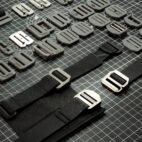
I always start my packs with the straps since they are the bridge between a person and the things they carry. Andy and Taylor’s packs are built to carry heavier loads so their straps have 1/2″ foam while Luke’s uses 1/4″ thick foam.
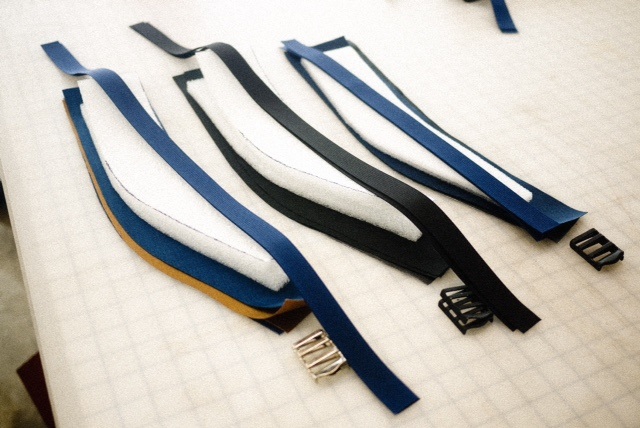
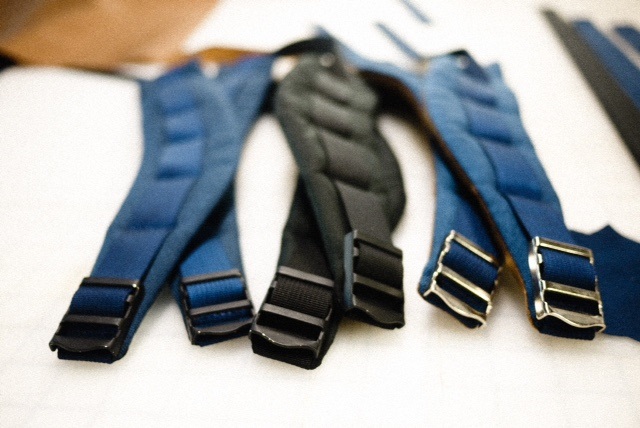
Straps done, from here on out, all three packs are made one at a time.
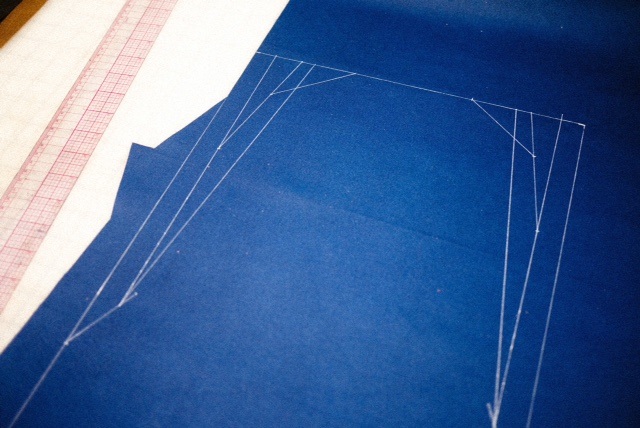
Figuring out the silhouette, aka the outline or general shape of Luke’s pack. Since each pack is fully custom, this is somewhat a way I sketch the designs in real time, meaning I sketch the lines out in full size on the back side of the fabric, so when I think it’s right, I can just cut it out and start sewing, as opposed to doing it in a sketchbook then figuring out how to make the sketch an actual 3D object.
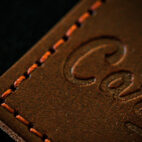
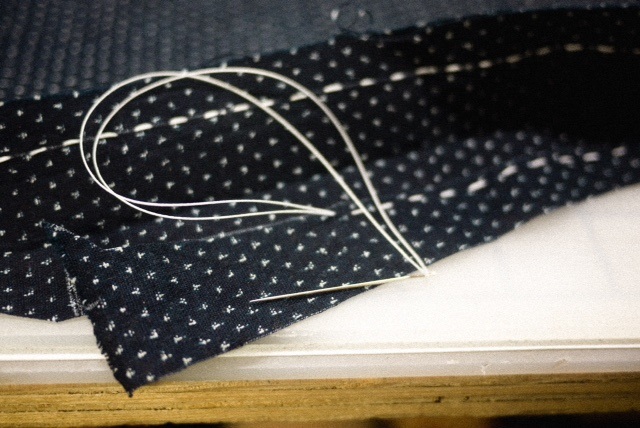
Doing some hand stitching of seams to do the very old Japanese boro fabric justice. Boro means scrappy, so these days, when you say boro, you’re looking for ragged Japanese fabric things (blankets, shirts, gloves) that are all patched up by hand.
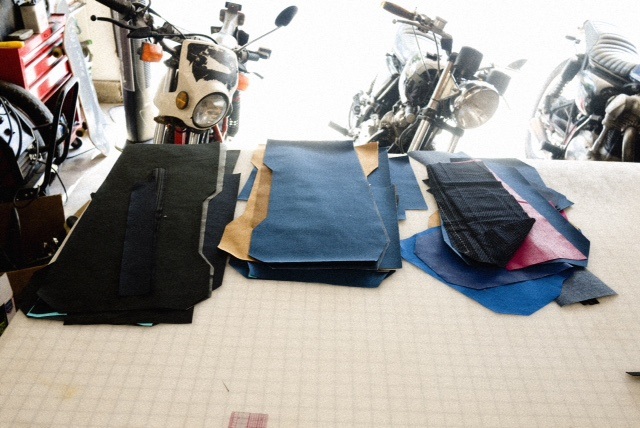
So before, when I said I make the packs one at a time after sewing the straps was not entirely true. I did cut all the panels to all 3 backpacks first. Then I started actually sewing them one at a time!
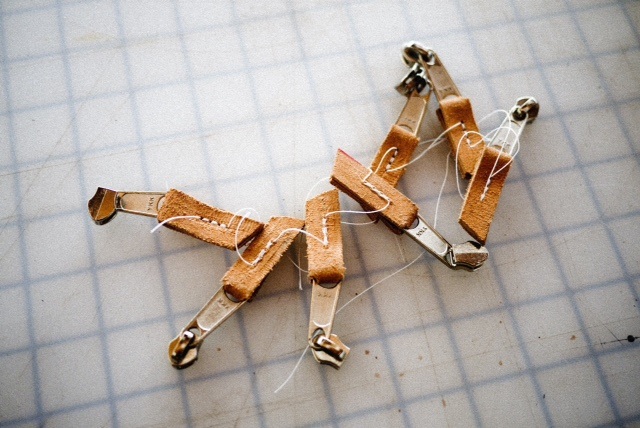
Sewing the leather zipper pulls in a chain to be somewhat efficient. The unefficient way would be to sew one, cut the thread, sew another, cut thread, and so on and so forth. By not cutting the thread each time during the sewing process you save time and you also save on thread too.
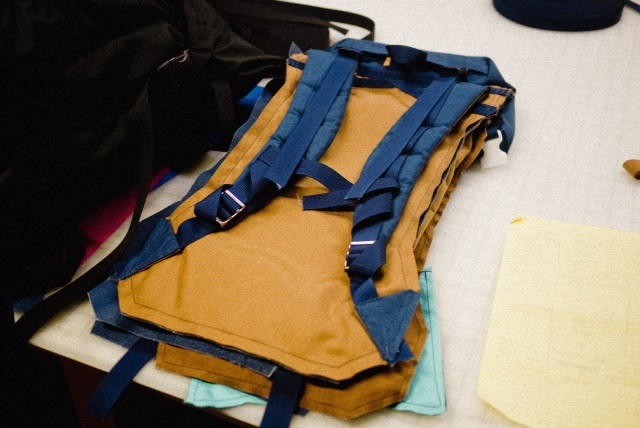
The back panel on Andy’s pack is done.
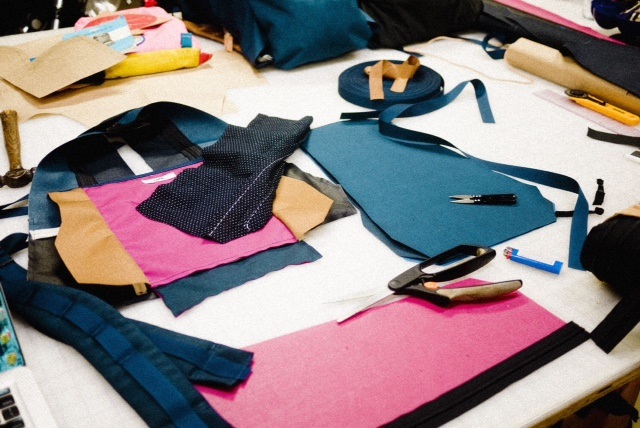
An organized mess.
Luke’s pack slowly coming together.
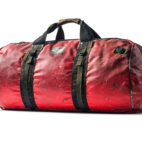
Packs complete!
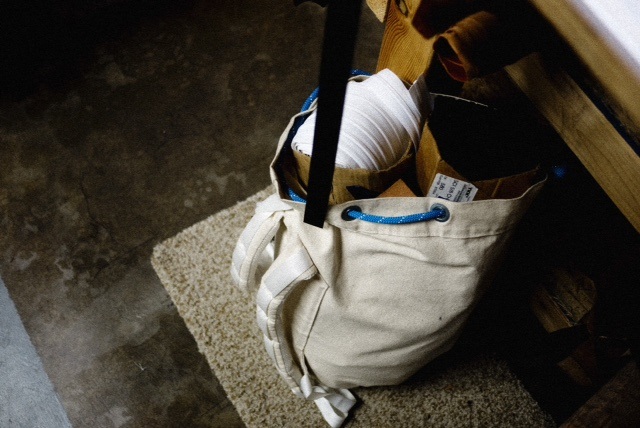
Materials and tools all packed up and ready to go home!
These are some tools and trims I use to make packs. The ruler is probably the most used tool besides the sewing machine.
–
WIN one of these packs for yourself! Details here.