Carry Awards
 Insights
 Liking
 Projects
 Interviews
How to Craft Classic Backpacks in 3D Models
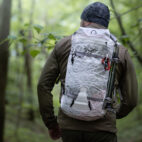
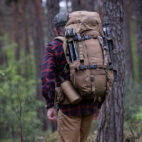
If you’ve ever carried a modern pack, the likelihood is that Pete Hill’s had a hand in it. One of the industry’s most prolific pack designers, Pete’s extensive design experience spans projects with the likes of Arc’teryx, The North Face and Chrome Industries. And today, he’s guest posting about crafting 3D models (and how darn fun it can be!).
I am a product designer who has been designing and developing gear since the mid ‘80s. I started my career at The North Face as an assistant designer and pattern maker for hardgoods. Five years later I left TNF as Senior Designer and went to art school.
Back then the TNF factory and the head office were both in Berkeley CA. When manufacturing moved to China a big part of the design challenge became communicating by fax with factories in Shenzhen. That experience of moving from the immediacy of having the factory close to far away fueled my desire to find a better way to imagine and communicate complex 3D objects more clearly and efficiently – and that led me to perfecting the use of 3D models in my work.
Getting hands-on
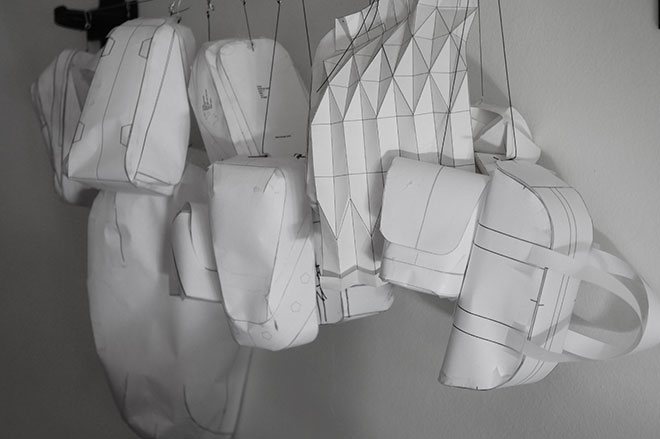
In March I started posting PDF’s of paper patterns on LinkedIn. When social distancing started people seemed particularly hungry for projects, both for themselves and for their kids. The first few patterns were things I already had, concepts for various clients. Some of them I had used while teaching a sewn product class at Emily Carr University in Vancouver as an introduction to making 3D objects out of flat patterns.
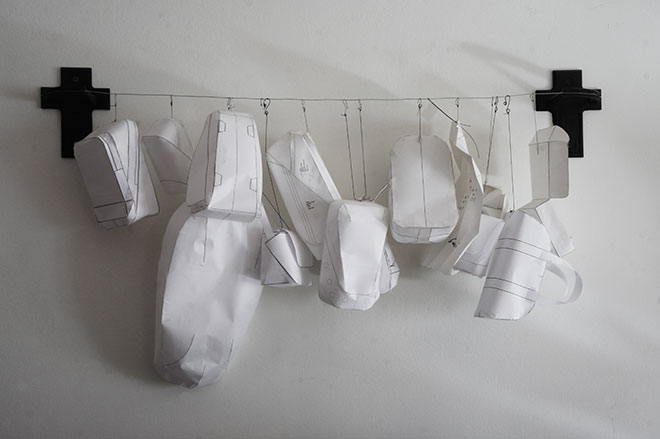
For me I love the sculptural aspect of modeling objects in 3D space. And I hope that now the Carryology community will enjoy the diversion of spending a few minutes making something with your hands. Even if it is just a paper model requiring some tape.
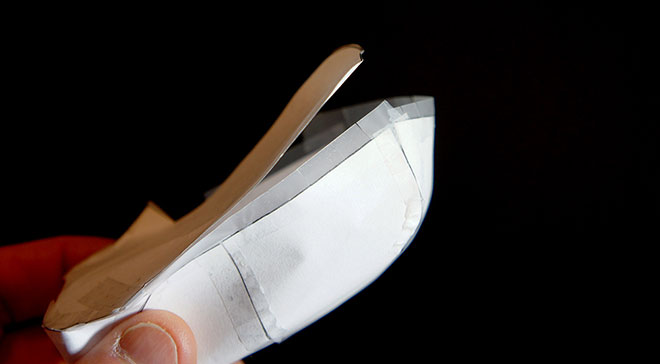
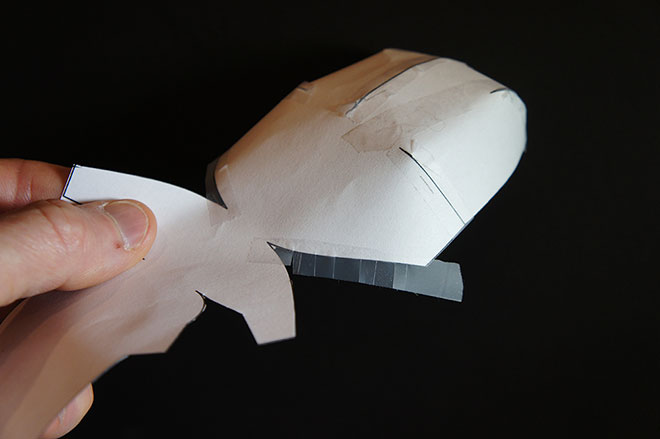
The patterns above explore classic products as well as crazy shapes that are essentially gimmicks, only feasible with the help of a 3D program. Many of the patterns are ganged together in one or two big patterns. Not really the way you would sew them, but good for looking at things in a different way, and easier to tape together at a small scale.
What is the purpose of the paper models?
In my practice modeling products is part of the design process along with hand sketching and creating sewn prototypes. I tend to go back and forth between thumbnail sketches, 3D models, paper models and fabric prototypes.
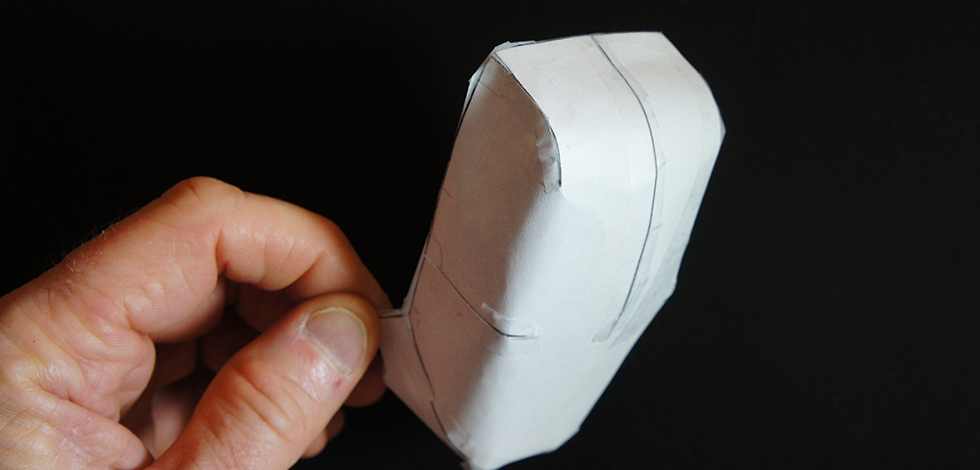
I really enjoy the immediacy of being able to revolve an idea in 3D space, but that never gets a project the entire way. The need to hold something in your hands and feel how it goes together is crucial. That is why I started and continue to make scale models. They quickly prove that the product can in fact go together, all the pieces fit and the proportions are working. The big thing is it is a real three-dimensional object that you can hold and turn around in your hand. It is also an important transition from computer thinking to maker thinking. The two complement each other really well.
They are also a great communication tool for clients and factories. I have also sent the PDF’s of patterns to clients. They get a better idea of shape and form and it gives them a sense of ownership in the project.
How to build a model
Keep in mind my object is to get a quick look at the form, not create a presentation tool. Though you certainly can dress up the patterns in Illustrator or a similar program and create a real thing of beauty.
Really, there are only a couple of key tricks:
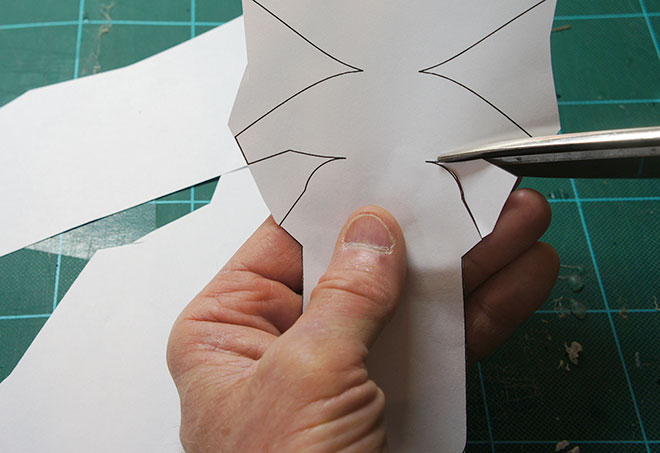
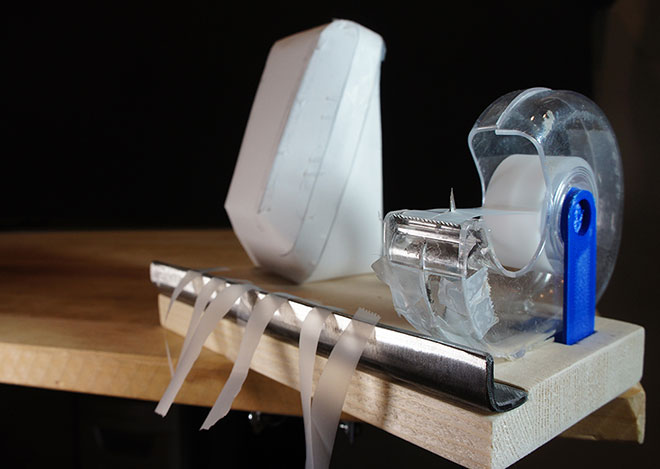
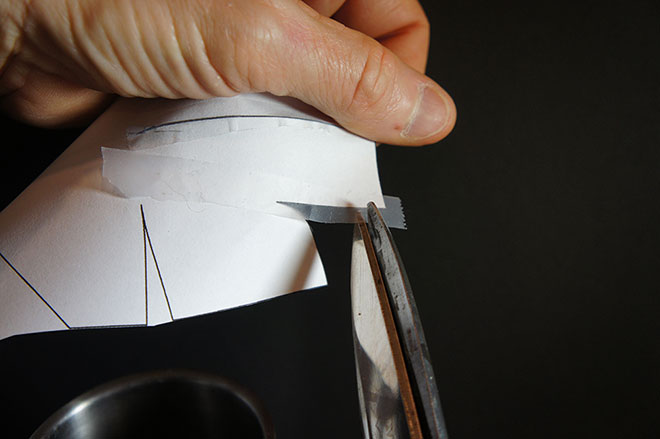
Tape, I split mine down lengthwise to make the strips a little more manageable on a small scale.
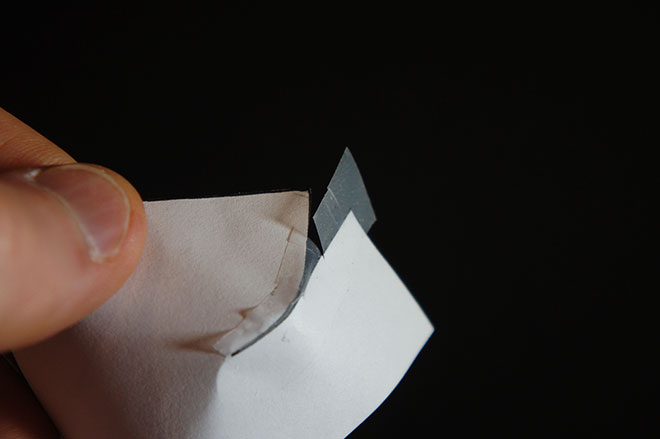
Put the tape on the straightest edge first. Then clip the edge of the tape so there are lots of little fingers to attach around the curves.
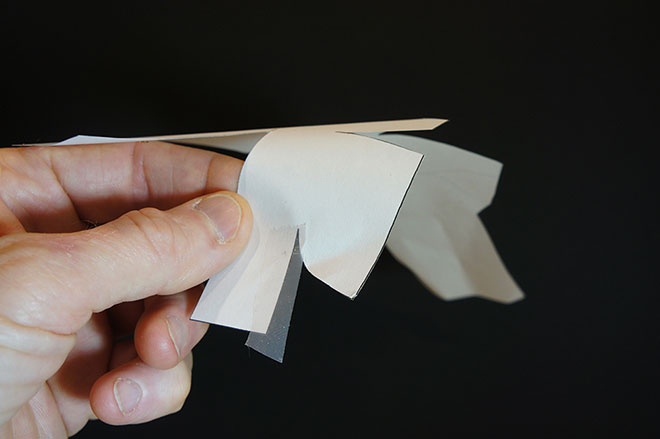
If the final model has areas that got pushed in or wrinkled, use a piece of tape to grasp the area that needs to be pulled out and give a quick pull.
Alternative method. This can produce a nicer model but is more time consuming.
- Hot glue. If you are a fan of your hot glue gun, and burned fingers.
- Attach your glue gun to a stand of some sort with the nozzle of the gun pointed down.
- Set the gun to hot, if there are two settings, or pick a low melt glue or both. You want the glue staying liquid longer so you have time to get things positioned.
- Pull the trigger softly so a bit of glue starts coming out.
- Put a short row of little dots on one edge of your model and hot them together as it sets. Only do a centimeter or two at a time.
Sewing. If the object you are creating is about the size of a melon sometimes I will just sew it together.
- For this method you need to go back and add some seam allowances to the patterns.

You can download paper patterns here: