Carry Awards
 Insights
 Liking
 Projects
 Interviews
Insights
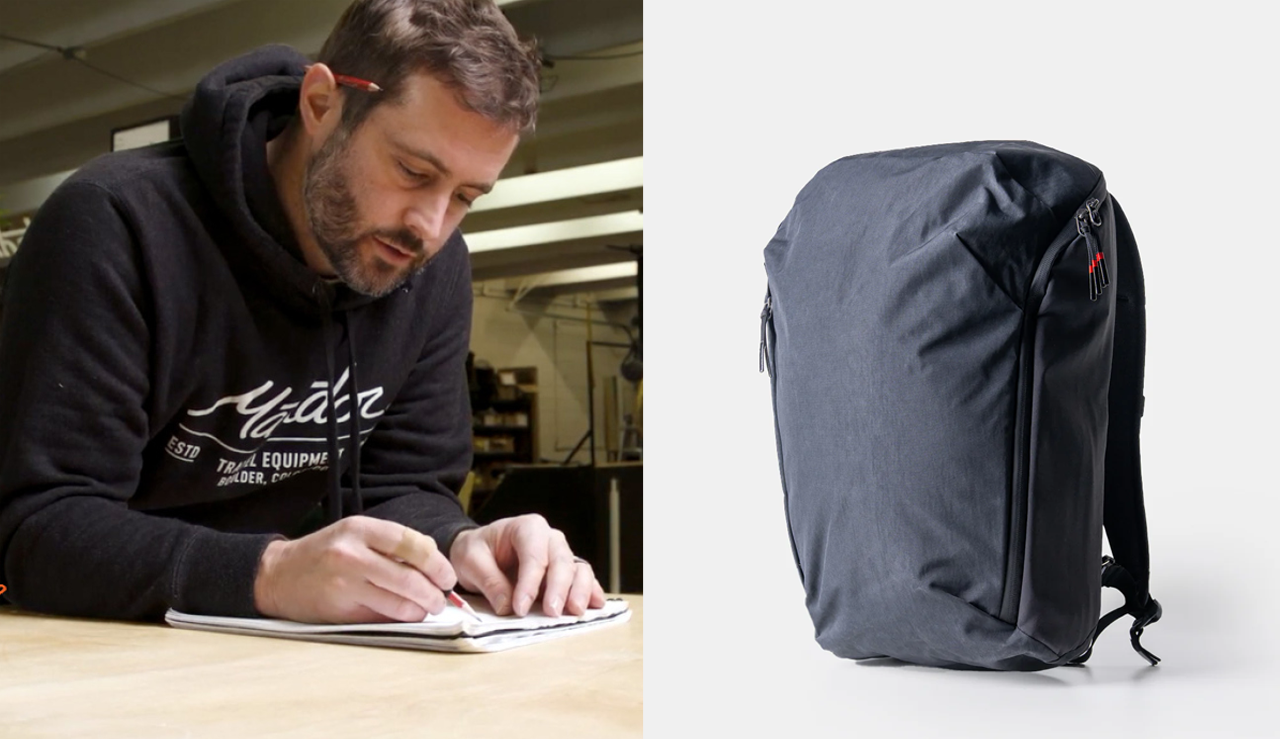
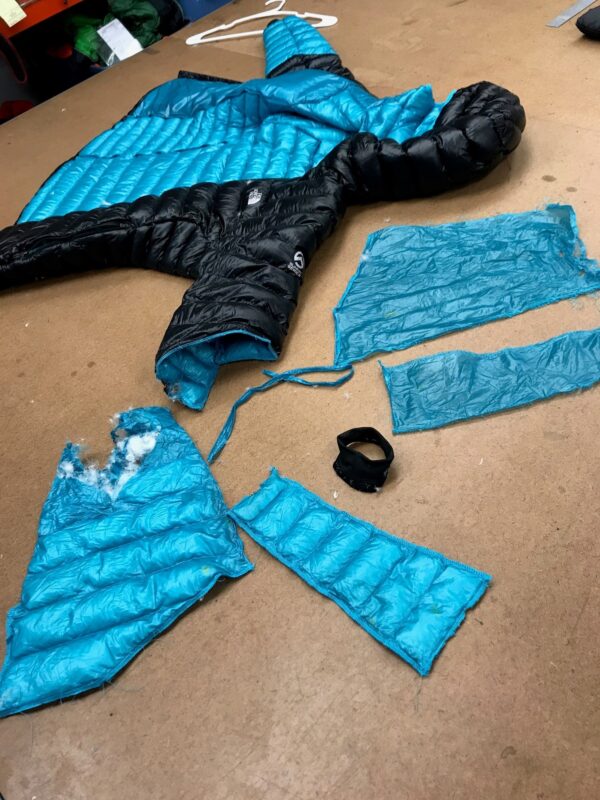
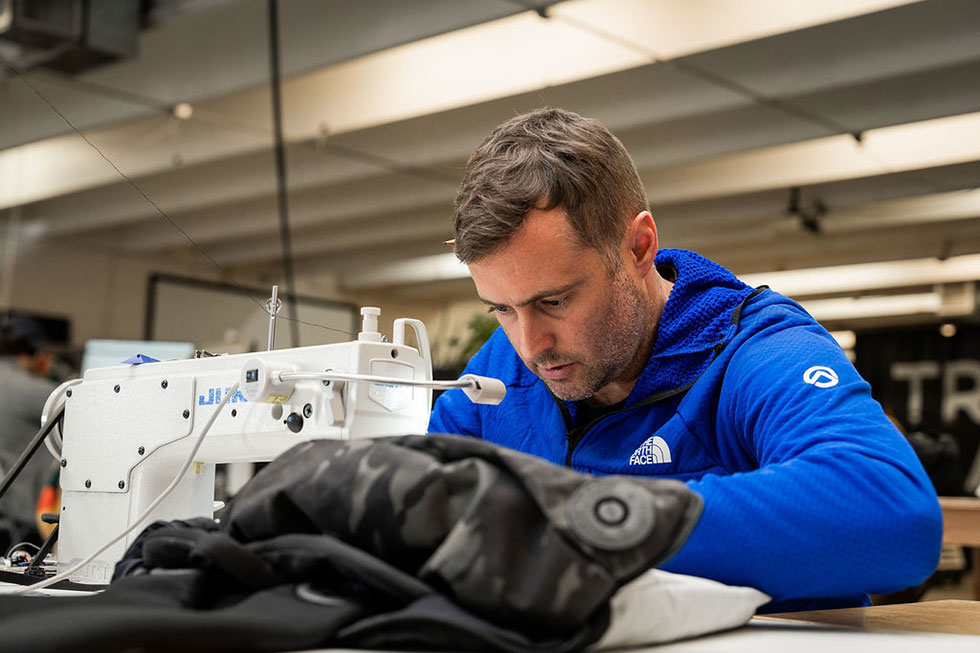
Prior to designing backpacks, I worked many years behind a sewing machine, repairing all sorts of outdoor gear for all sorts of outdoor brands. Repairing softgoods is methodical – first you find the damage and figure out how to access it, then you plan the fix, then you pull the whole thing apart seam by seam and you fix it, last you put it all back together. It requires a hyperfocus on the steps involved to physically build something. It’s a maze that, when solved, provides you with a roadmap of a product and a behind-the-scenes look into the thought process of the person who designed it.

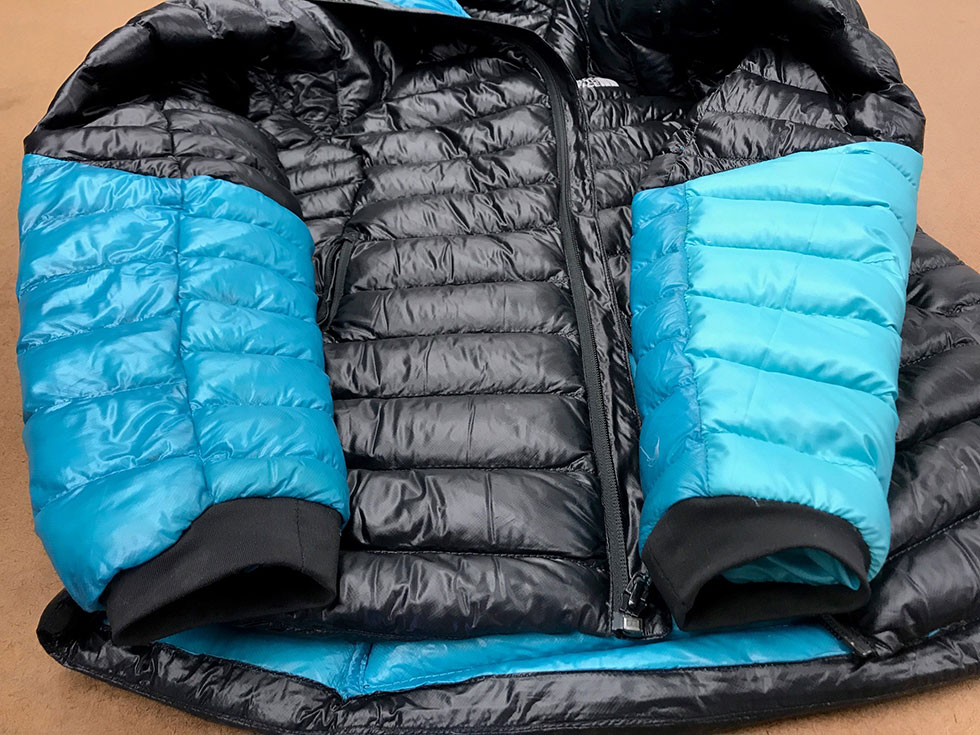
This base level focus on the physical and the impulse to keep “zooming in” on the individual components is why I’ve always found the “how” of product design more intriguing than the “why” or the “what”. As an outdoor gear nerd, it was the allure of the perfect backpack that initially drew me in, but it was the elusive nature of actually patterning and building that perfect pack that turned this into a never-ending quest.

Proof of Concept
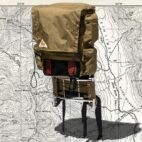
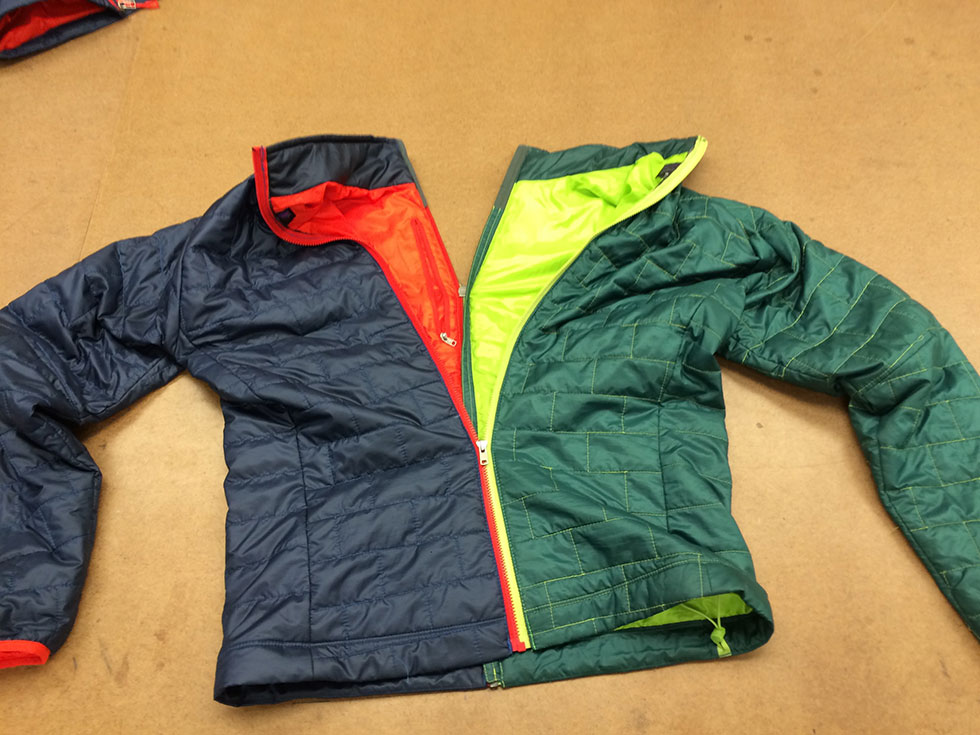
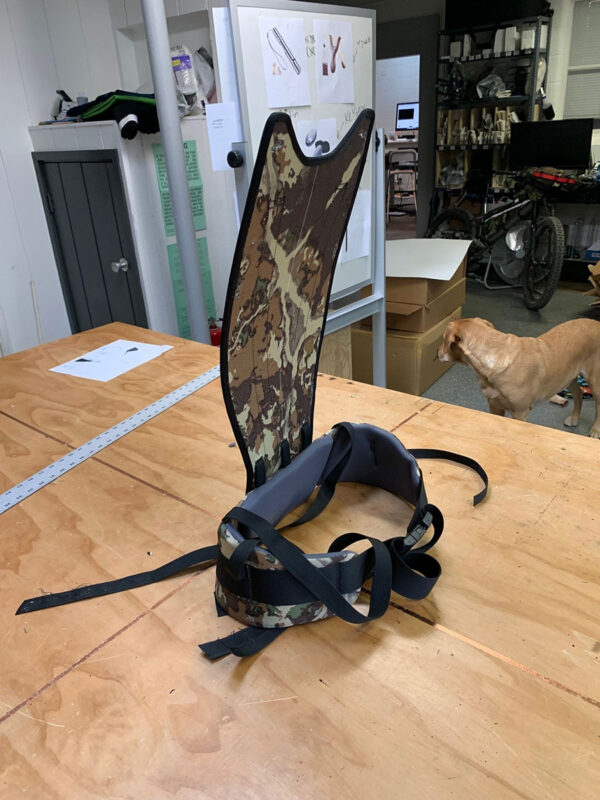
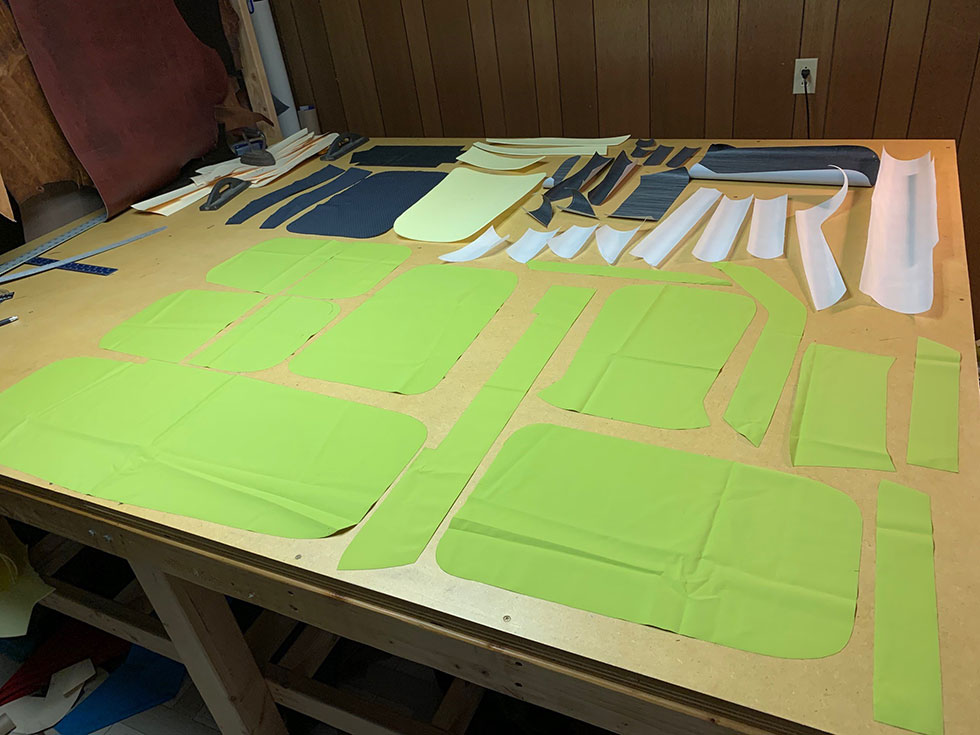
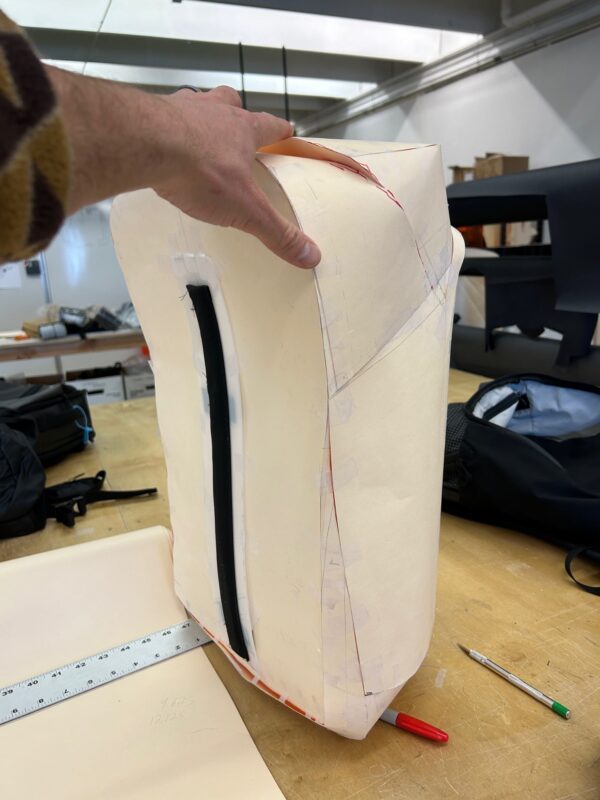
There comes a point in every backpack design project when it’s time to turn the concept into a real-life, holdable, wearable, zippable, carryable backpack… and for me, that point can never come soon enough. Design is nonlinear and I find that building proof-of-concept mockups very early on in the process allows for a back-and-forth between the physical and the conceptual that almost always leads to a better end product. Standing around a rough prototype with the team provides for a comprehensive review and allows you to see how the form, features, and architecture interact in a way that isn’t possible in a 2D or digital medium: don’t delay, get your hands dirty right away.
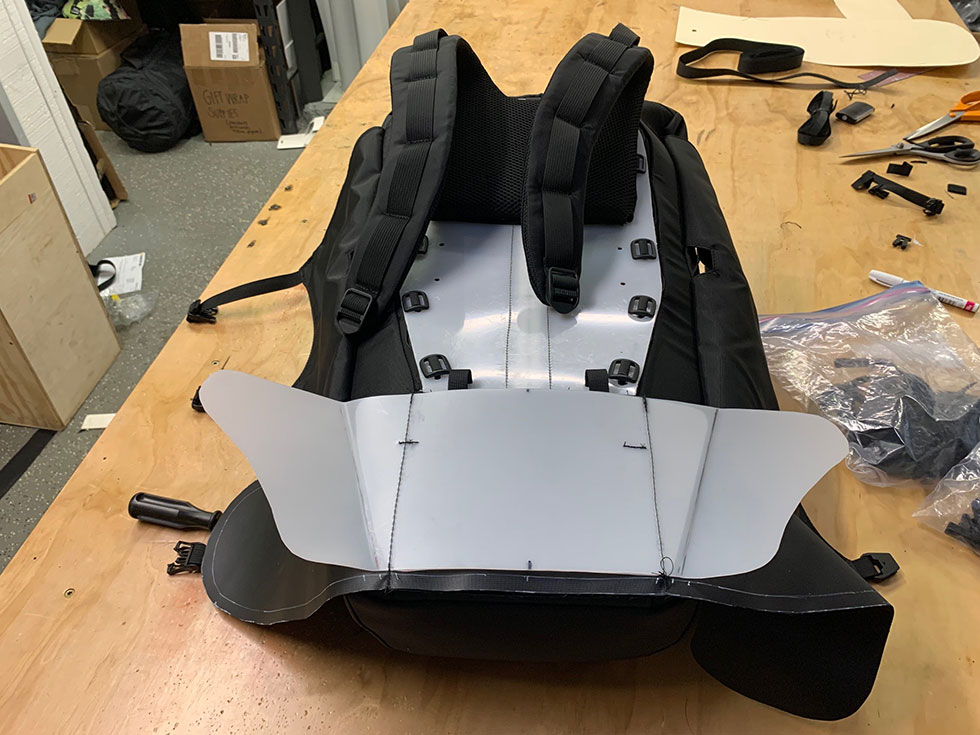
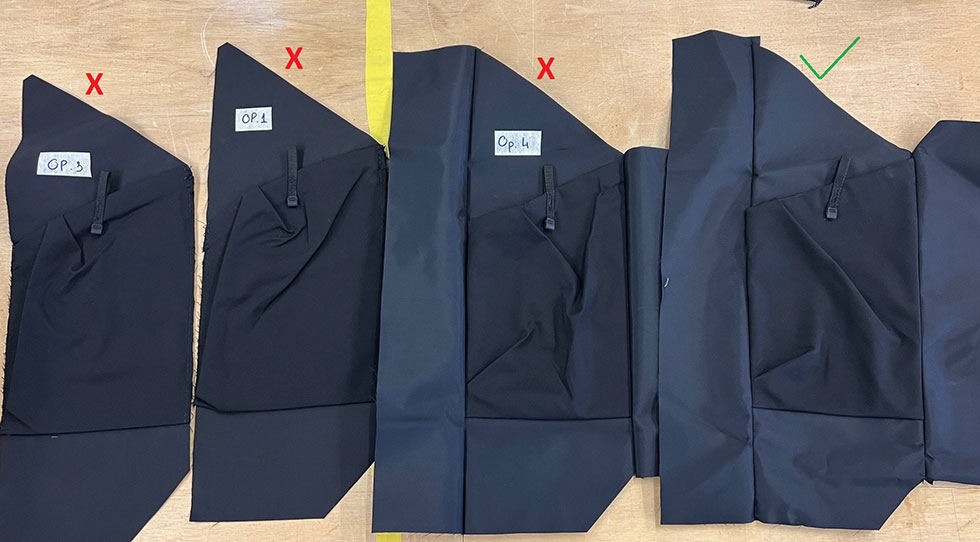
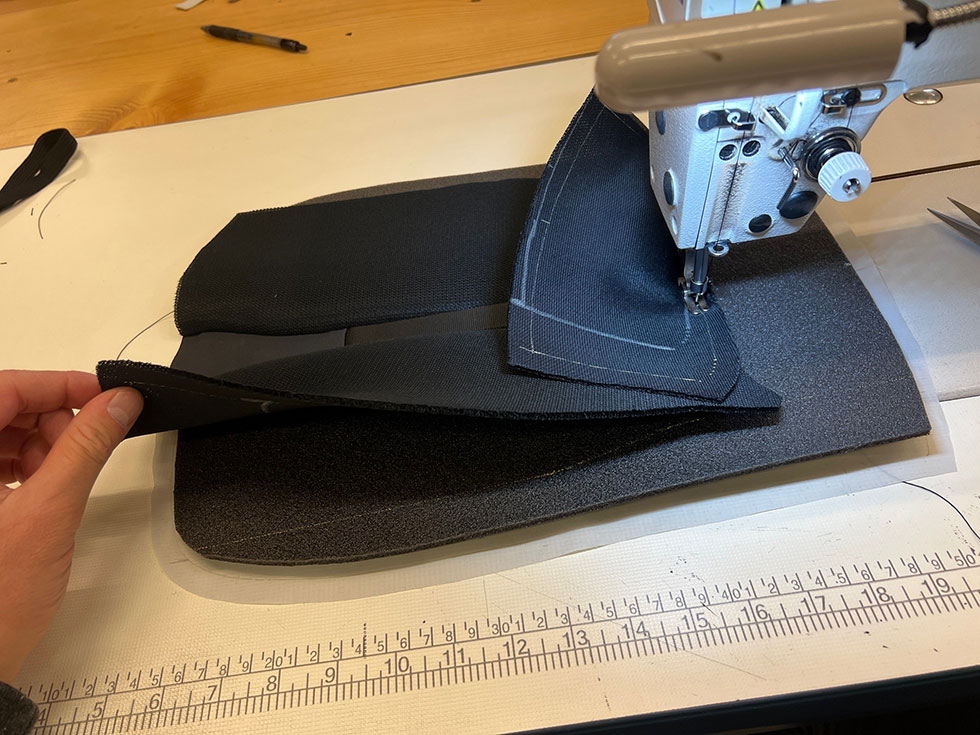
The goal of early-stage mockups and proof-of-concept models isn’t to create the patterns that will carry through to your final product; it’s more to test out ideas, features, shapes, executional considerations, etc. The end pack doesn’t have to be perfect, but it can’t fail in the field, so knowing what doesn’t work is as important as knowing what works—failure is your friend at this stage. Early on—when you’re still in the divergent thinking and broadening phase—is the time to get weird and try stuff; don’t rush into building the actual pack. Focus on minimum viable prototypes—quick and dirty builds that are only adequate to accomplish the goal of answering particular questions like “How should the zipper cover flap terminate into the side seam?” or “Will this panel need foam inside to provide structure or would that be too bulky?” or “Should this dart be curved or angular?”
The entire physical prototyping phase is the bridge between an idea on paper and a physical product that gets replicated thousands of times for the mass market; it’s an opportunity to audit at the concept, the creative direction, the design prompt… but also to look forward and be deliberate with considerations like manufacturability, MSRP targets, materials consumption, etc.

Product Development
Once the project moves on from early-stage concept testing to late-stage product development, open communication with the factory is critical… when they provide feedback on a certain executional element or construction technique that you’ve been developing, take that feedback to heart and incorporate it; it may save you serious headaches when the first production run comes around.
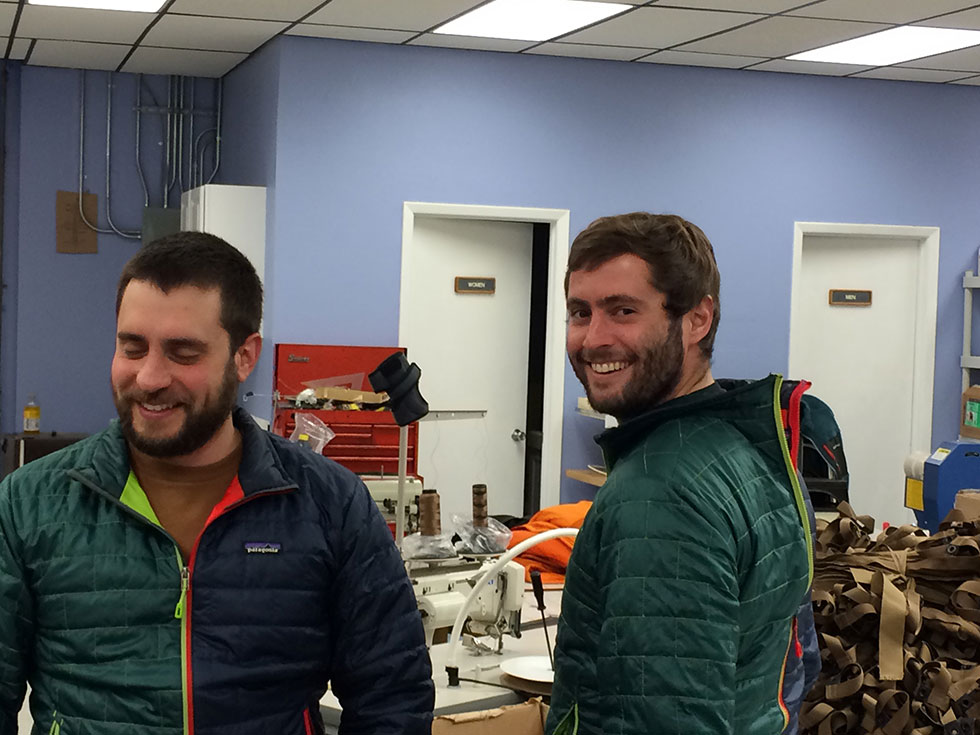
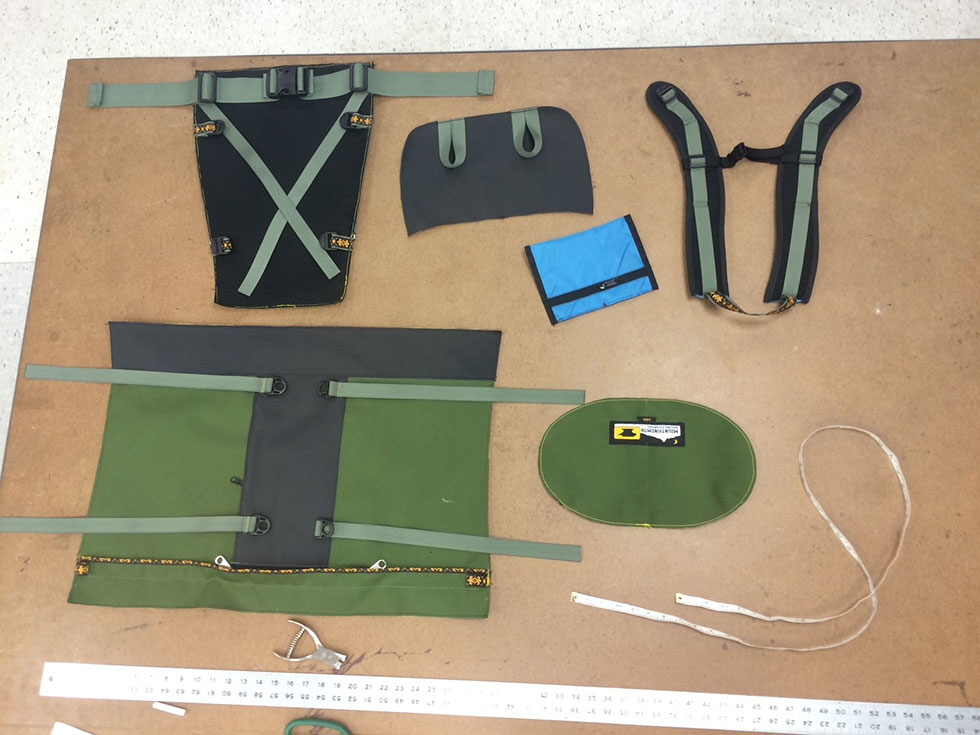
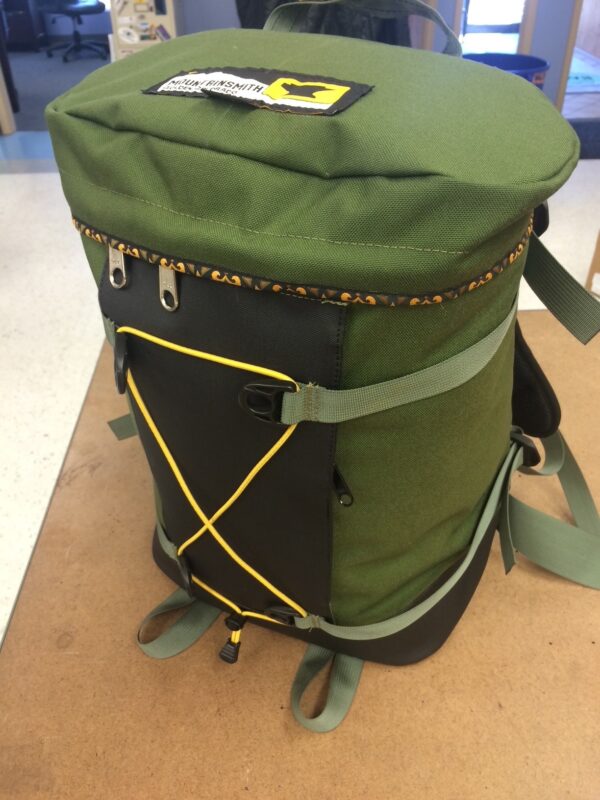
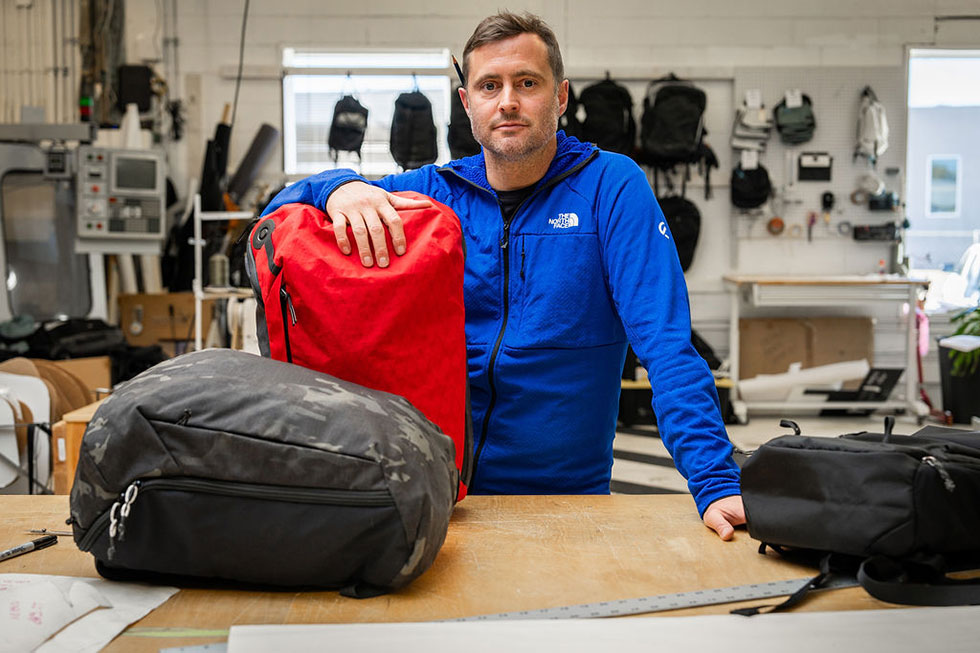
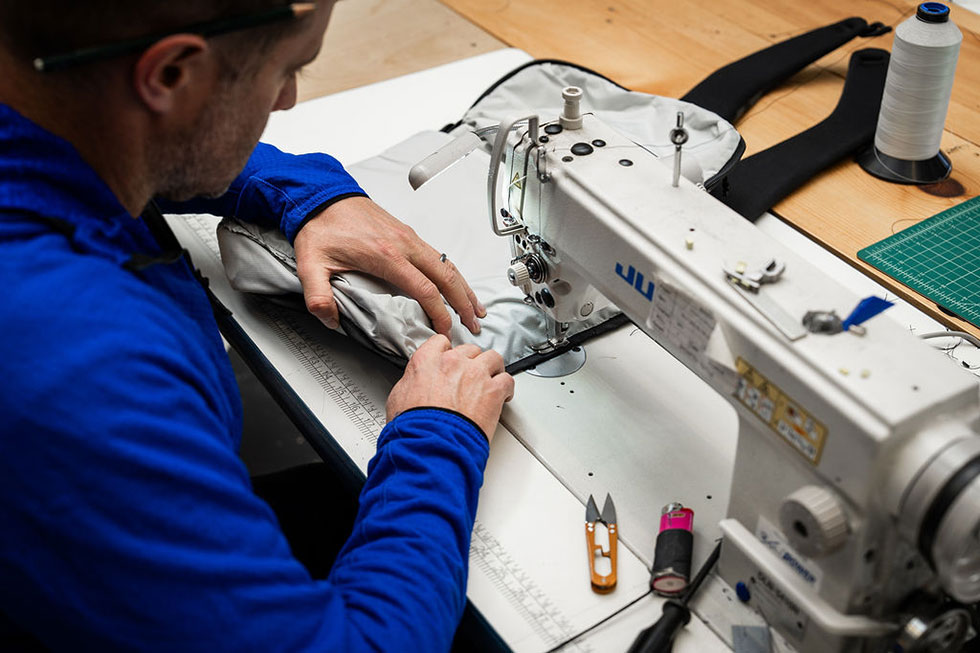
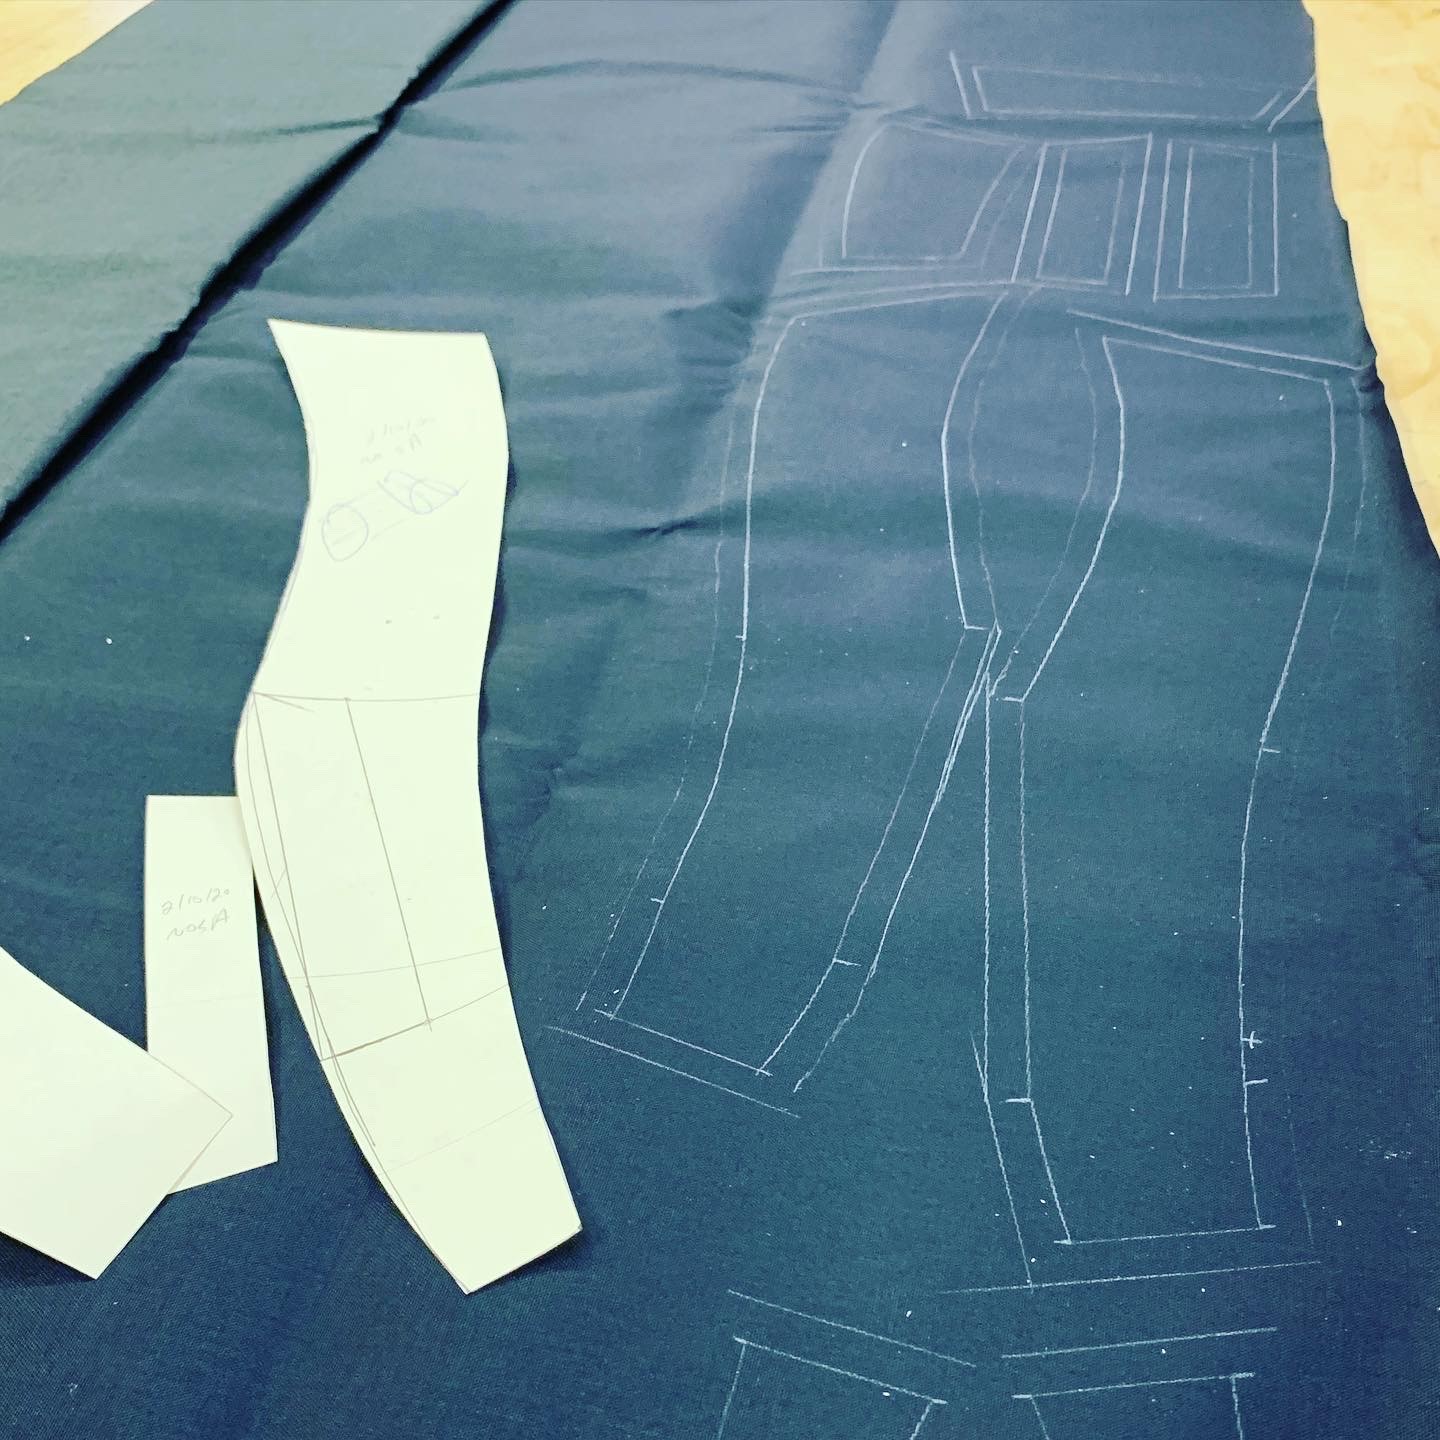
At Matador, hands-on product development is one of the things that sets us apart. We design, build, and test our backpacks in-house in Colorado to a high degree of “doneness”. When we release a new product to our factory it isn’t just a tech pack or ID intent document, it’s also a fully baked backpack and a set of patterns… and I wouldn’t have it any other way.
I can’t sum up the process in a single article, so it may be more useful to end with a handful of concrete, actionable tips and tricks that will aid anyone who wants to try designing and building a bag at home.
Tips and Tricks
Building a backpack 102 (aka assorted tips and tricks in no particular order):
– Practice patterning out and sewing a tube with a circular end cap. This will help train you on hitting your seam allowances so that compound curves go together nicely every time instead of leaving bunched-up fabric at the end of your stitchlines.
– When sewing together two difficult panels, make notches in your seam allowance at set intervals (i.e., 10″ from the start, 20″ from the start, halfway, etc.) on each of the two fabric panels. As you’re sewing, the notches should line up perfectly, letting you know that you’re on track for a clean execution of that stitchline.
– Do some research into the correct needle sizing for a given weight of fabric. Then do research into the correct thread size for your chosen needle size. Use bonded nylon thread for backpacks.
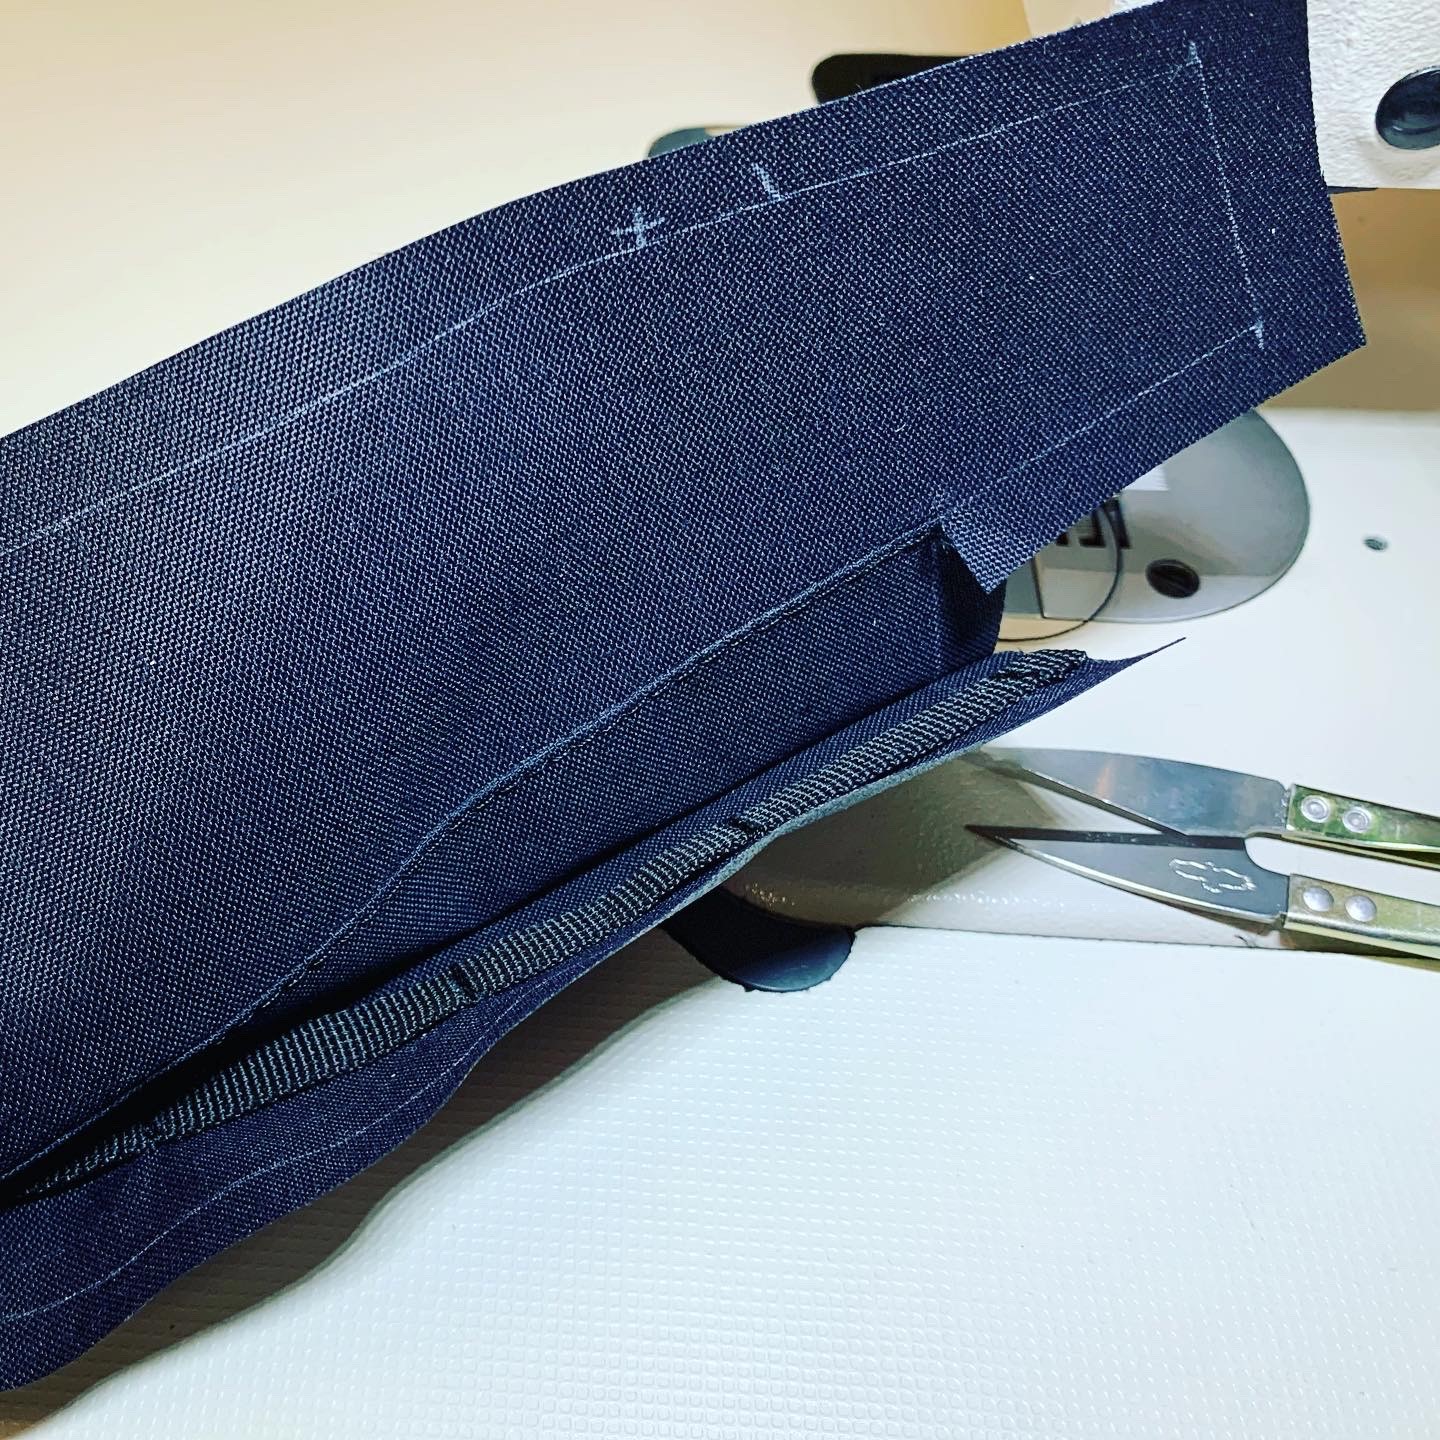
– If you are using PU-coated fabric (which you likely are), consider leaving the inside seam allowance edges raw for your first couple of builds. It’s simpler and easier to dial in your build when you aren’t also navigating top stitching and binding tape, especially as a novice using a tabletop machine (see the advice below about stack height).
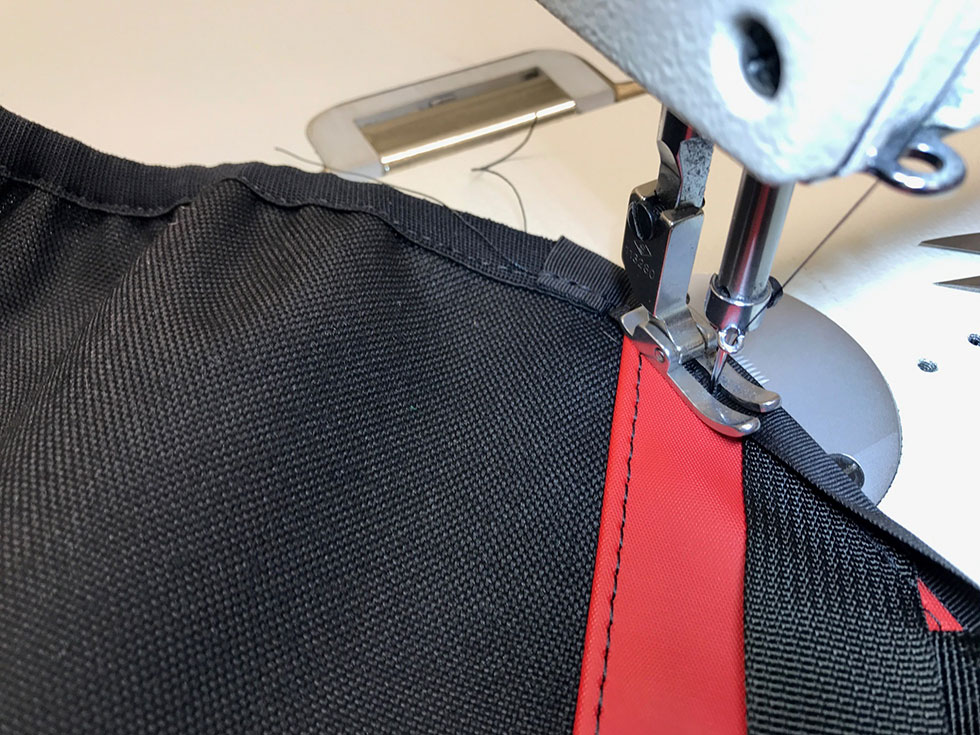
– The ends of all narrow goods (zippers, webbing, cord, etc.) must be melted with a lighter prior to installation. Also, they must be installed a full seam allowance width deep—at least 3/8″. You should also sew back and forth over them one time to reinforce the attachment point.
– On curved seams, after sewing, snip your seam allowance perpendicular to the stitchline so that your seam allowance folds over and bunches up onto itself when you turn the pack right-side-out. This will allow for clean curves on the finished product.
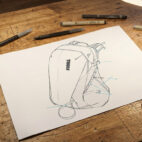
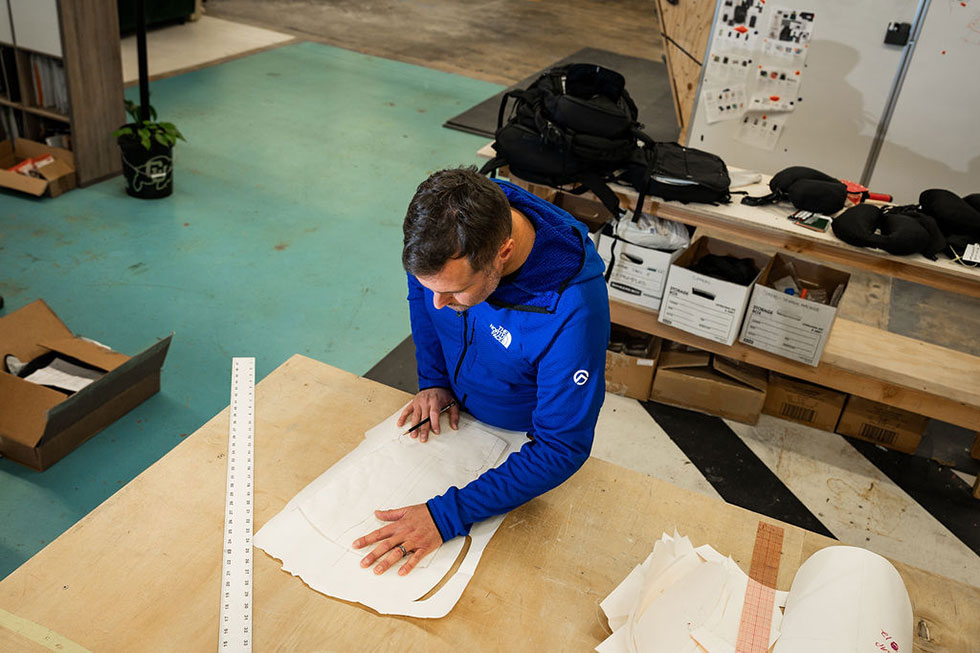
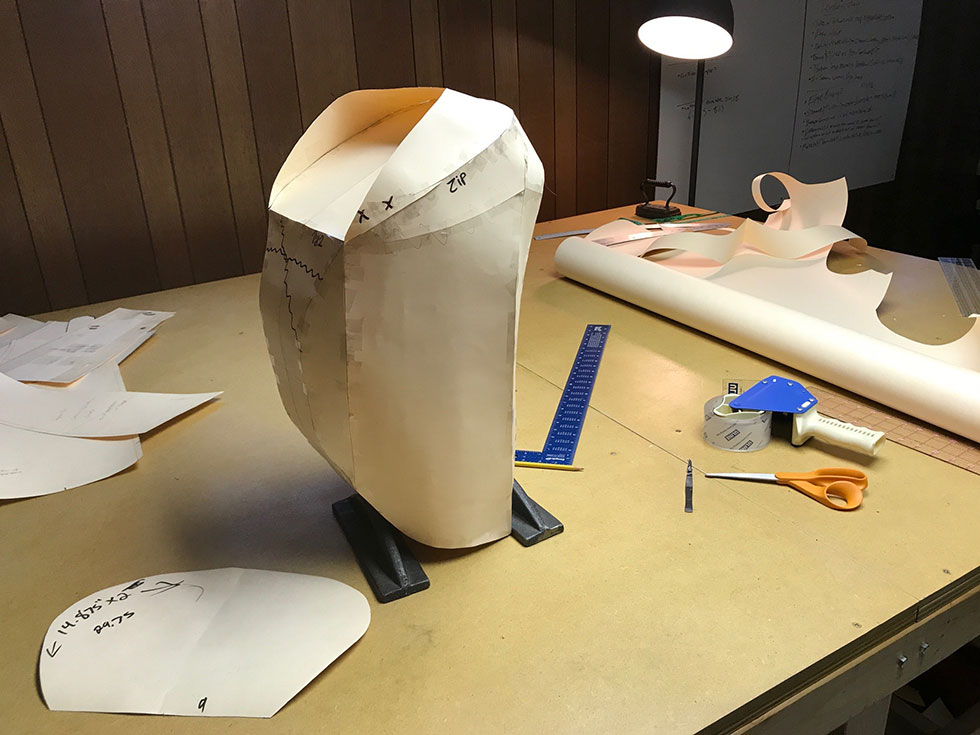
– Watch the Maker’s Mystery Box Episode 3 video, where I talk a bit about building paper mockups not only to dial in the size and shape of your pack, but also to pull pattern pieces off of.

– Be cognizant of material stack when designing your backpack. Avoid a single spot where webbing lays on top of a zipper end which lays on top of multiple layers of fabric… this could damage your sewing machine, especially if using a light-duty tabletop sewing machine.
– Practice installing zippers. If you start with a rectangular panel that is 11″ wide and you cut a straight line down the middle, then install a zipper in that straight cut, the panel should still be 11″ wide after zipper installation. This is handy to know when patterning and building.
– When finishing the end of your zipper, hand walk your needle using the sewing machine’s flywheel. This will help to avoid breaking needles and also potentially damaging your machine.

Sam Goodhue is the Lead Softgoods Designer at Matador Products. Find him at: LinkedIn